
Los Angeles, CA * Webmaster@ADefWebserver.com |
|
Los Angeles, CA * Webmaster@ADefWebserver.com |
|
|
|
||
Some like to set up their sites using the Windows IIS web server. Here is how you can do that using Windows Vista. Also see: Setting-up the Development Environment (without IIS) |
|||
| NOTE: When installing DotNetNuke we usually have
the expectation that it will work. When this expectation is not met
it frequently leads to anger and frustration. Please understand that
the Windows Vista operating system is not in the control of the
DotNetNuke Core. It is impossible for me to respond individually to people who need help. Unfortunately any emails requests will have to be ignored with no reply. Please use the DotNetNuke forums for help. |
|||
Download DotNetNukeThe trick here is to download the Install Version. The source is bulky and not useful for module development because you don't want to develop a module on an installation that is not standard. |
 |
||
Set up SQL Server |
|||
|
Create a DotNetNuke database in SQL Server |
|
||
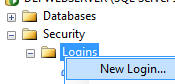
| Under the main Security node (not the one under the database you just created), right-click on Logins and select New Login |
 |
||
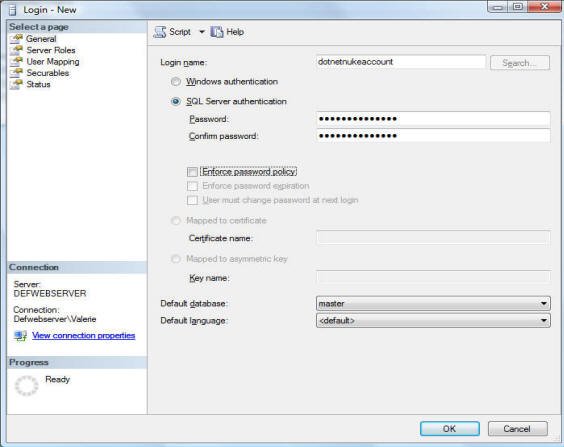
| Create an account that uses SQL Server authentication and provide a password. |
 |
||
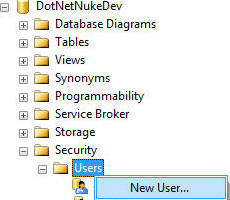
| In the database you created, select Security then right-click on Users and select New User. |
 |
||
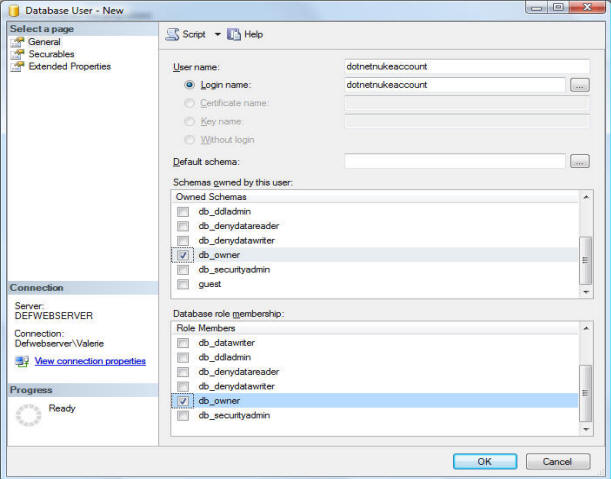
| Enter the account you created and select db_owner
for both "Schemas owner by this user" and "Database
role membership". Click OK. |
 |
||
|
|||
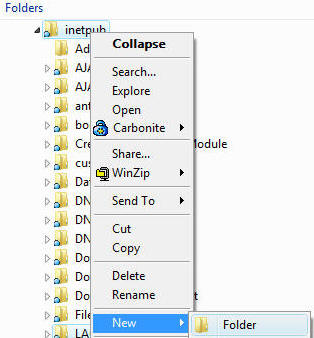
| In windows file manager, create a new folder. |
 |
||
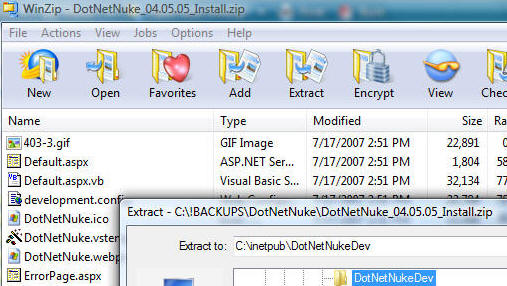
| Unzip the files from the DotNetNuke install files, that you downloaded, into the directory. |
 |
||
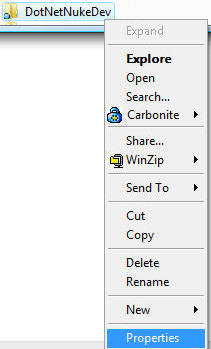
| Right-click on that directory and select Properties. |
 |
||
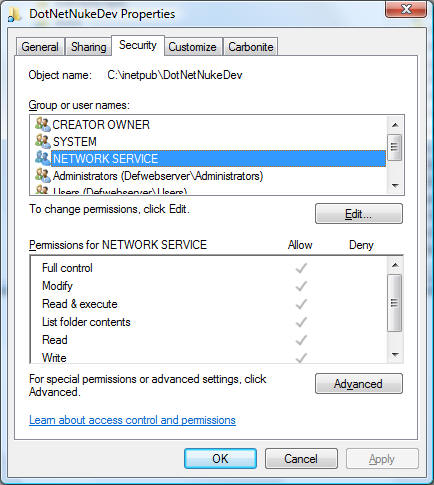
| On the Security tab, click the Edit button to change the permissions. Add NETWORK SERVICE and give it Full Control. |
 |
||
Set up IIS |
|||
| From the Control Panel select Administrative Tools |
 |
||
| Select Internet Information Services (IIS) Manager |
 |
||
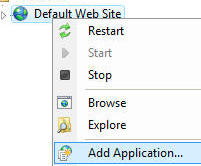
| Right-click on the Default Web Site and select Add Application. |
 |
||
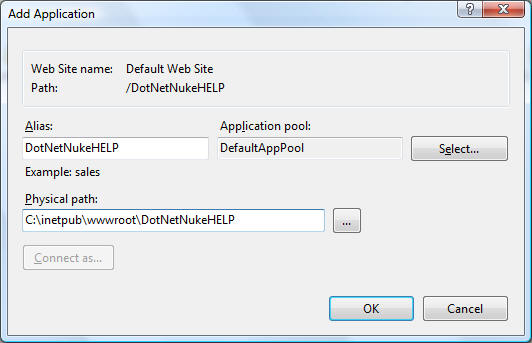
| Select the Physical Path to the directory you placed the files in. Click the Select button to set the Application pool to DefaultAppPool. |
 |
||
Setup DotNetNuke |
|||
| In your web browser, navigate to the web site your set up in IIS. |
|
||
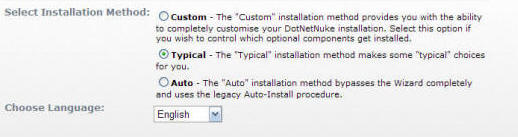
| When the Installation Wizard comes up select
Custom, Typical or Auto and click the
Next button. Typical is recommended. Proceed through the wizard to configure DotNetNuke and install it. |
 |
||
| The DotNetNuke site will then install. |
|
||
Next Steps |
|||
|
DotNetNuke® 4 Module Tutorial Series:
|
|||
 |
DotNetNuke® is a registered trademark of Perpetual Motion Interactive Systems Inc.
