Los Angeles, CA * Webmaster@ADefWebserver.com |
|
Los Angeles, CA * Webmaster@ADefWebserver.com |
 |
|
|
Also see: Also see:
DotNetNuke PA using ASP.NET 2.0 Coding Techniques
|
|
|
You want to create a DotNetNuke module and you want to distribute it but you don't want to give away your source code? |
|
Step 1Follow these directions to set up your development environment: |
|
Step 2Create a Module using the Web Site Project format used in this tutorial: |
|
Step 3Package the module This package will include the source code. The source code will be replaced with compiled assemblies (.dll's) in a later step. |
|
| While logged in as the Host account, Select Module Definitions from the Host menu. | 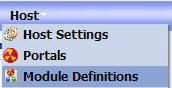 |
| Click the pencil icon next to the module to select it and
navigate to the details. In this example we are using the module ThingsForSale that was created in the tutorial from Step 2. |
|
| From the menu for the module definition for ThingsForSale, select Create Module Package. | 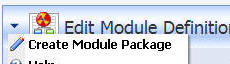 |
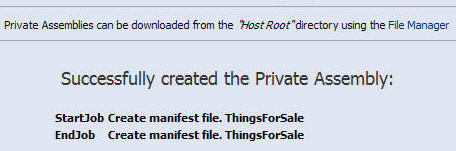
| Enter a name that ends with .zip and click the Create link. | 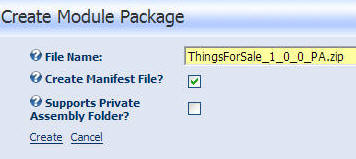 |
| The Private Assembly will be created. However it will not contain any assemblies at this point. It will contain source code. |
 |
| You can retrieve the .zip file from the root directory of the portal. | 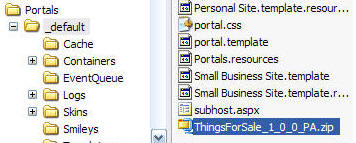 |
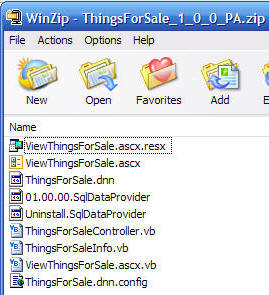
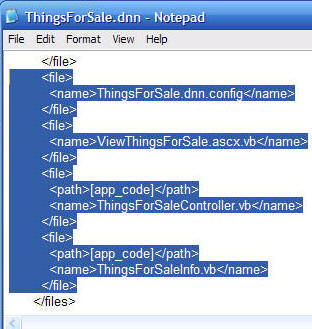
| When you open the .zip file you can see the module
elements.
The source code is contained in the files with the .vb extension. These will be replaced with compiled assemblies. Note: At this point the ThingsForSale_1_0_0_PA.zip file can be used to install the module. Therefore, you will want to save a copy for use when you want to distribute a source code version of your module or to archive the version of the module. See this post for information on installing modules
|
 |
| Remove all the files with the .vb and .ascx and .config extensions from your .zip file | 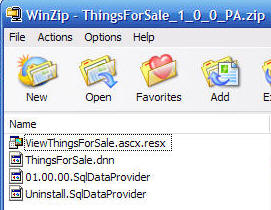 |
Protect Your Source CodeTo create a .zip file with compiled assemblies (so that you will have a version that does not contain your source code), follow these steps:
|
 |
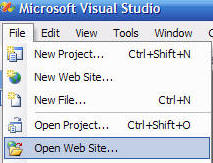
| (Note: You must use Visual Studio for this. you cannot use
Visual Web Developer Express) Open Visual Studio 2005 and from the File menu select Open Web Site. |
 |
| Navigate to your DotNetNuke site... |
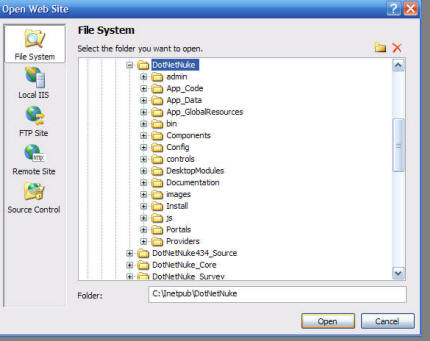 |
| And open it | 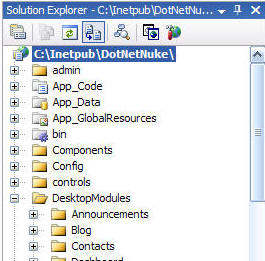 |
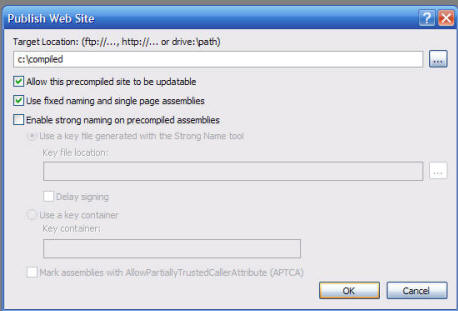
Create the compiled assembliesFrom the Build menu, select Publish Web Site |
 |
From the Publish Web Site menu, enter a path for the compiled
site (for example C:\compiled) and check the boxes next to:
Click the Ok button. For more information, see the "Precompiling for Deployment" section in ASP.NET Web Site Precompilation Overview |
 |
| When you look in the C:\compiled\bin folder you can see all the assemblies. |
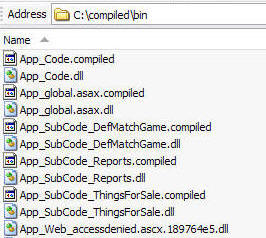 |
| Locate any assemblies with the .dll extension that
contain the name of the folder your module was in. For example, the ThingsForSale module was in the \DesktopModules\ThingsForSale directory. Therefore, any assembly that has the words thingsforsale in it's name is a compiled assembly for the module.
|
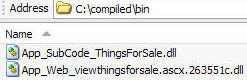 |
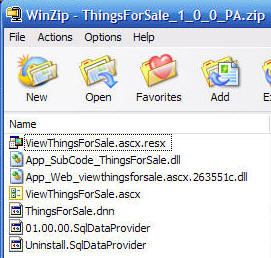
| Place them in into your .zip file | 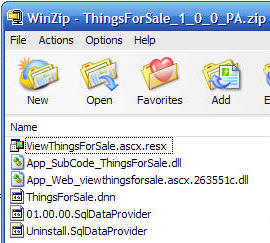 |
| Copy any files with the .ascx extension that reside in the folder for your module (In this example C:\compiled\DesktopModules\ThingsForSale) to your .zip file | 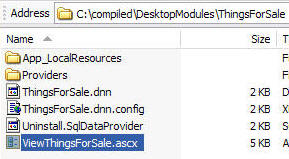 |
Update the .dnn configuration fileOpen the .dnn file and remove any reference to any files with a .vb or a .config extension |
 |
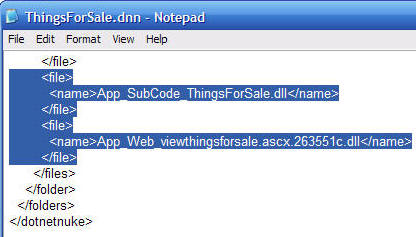
| Add the names of any of the assemblies you added to the .zip
file. Surround the names with the <file></file> tags |
 |
| You will now have a .zip file that can be installed in a
DotNetNuke site. See this post for information on installing modules Click Here to download the file created with this tutorial. |
 |
Upgrading You ModuleWhen you create a new version of your module you will want to allow it to be upgraded. To upgrade the module the portal administrator will upload the new version of the module. The DotNetNuke framework will detect that a new version has been uploaded and upgrade it.
|
|
Removing old AssembliesThe problem you will have is the old assemblies will need to be removed, otherwise you will have a potential namespace conflict because the old and the new assemblies will both reside in the /bin directory at the same time. To resolve this you will need to include a .txt file in your .zip file that will instruct the DotNetNuke framework to remove all previous assemblies for all previous versions of the module.
|
|
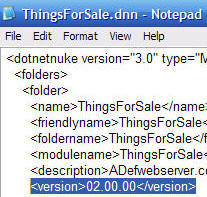
Implementing the UpgradeThis is assuming you have created a new version of the ThingsForSale module. The first step is to change the version in the .dnn file. |
 |
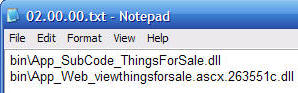
| Next, create a text file named 02.00.00.txt and place the
names of the assemblies for all previous version of the module using
bin/assembly name format. Place this file in the .zip file for the new version of the module. |
 |
DotNetNuke® is a registered trademark of Perpetual Motion Interactive Systems Inc.