
Los Angeles, CA * Webmaster@ADefWebserver.com |
|
Los Angeles, CA * Webmaster@ADefWebserver.com |
Category Administration
|
|
Give the administrator the ability to add and delete Categories |
|
| To implement this feature we need to complete these
tasks: |
|
|
|
Create a Categories table |
|
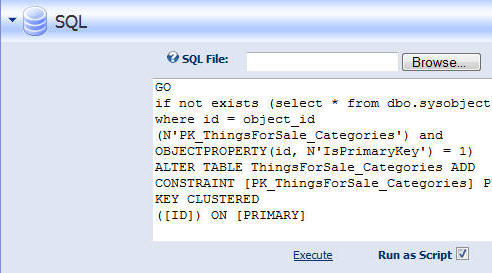
| Log into the DotNetNuke website as the Host account and select SQL from the Host menu. |  |
Enter the following into the SQL box, select Run as Script and click Execute: |
|
|
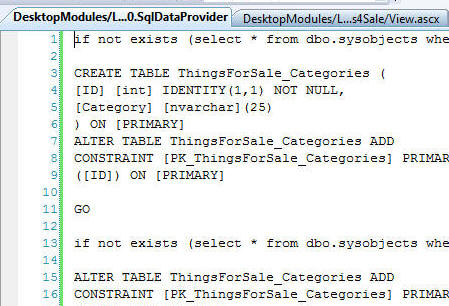
if not exists (select * from dbo.sysobjects where id = object_id(N'ThingsForSale_Categories') and OBJECTPROPERTY(id, N'IsTable') = 1) BEGIN CREATE TABLE ThingsForSale_Categories ( [ID] [int] IDENTITY(1,1) NOT NULL, [Category] [nvarchar](25) ) ON [PRIMARY] ALTER TABLE ThingsForSale_Categories ADD CONSTRAINT [PK_ThingsForSale_Categories] PRIMARY KEY CLUSTERED ([ID]) ON [PRIMARY] END GO if not exists (select * from dbo.sysobjects where id = object_id(N'PK_ThingsForSale_Categories') and OBJECTPROPERTY(id, N'IsPrimaryKey') = 1) BEGIN ALTER TABLE ThingsForSale_Categories ADD CONSTRAINT [PK_ThingsForSale_Categories] PRIMARY KEY CLUSTERED ([ID]) ON [PRIMARY] END |
 |
Add the ThingsForSale_Categories table to the Data Access Layer |
|
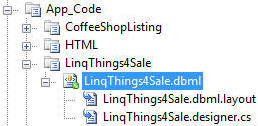
Double-click on the LinqThings4Sale.dbml file located in the "..\App_Code\LinqThings4Sale" directory. |
 |
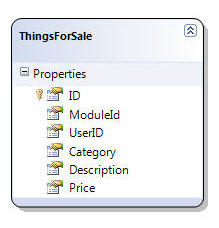
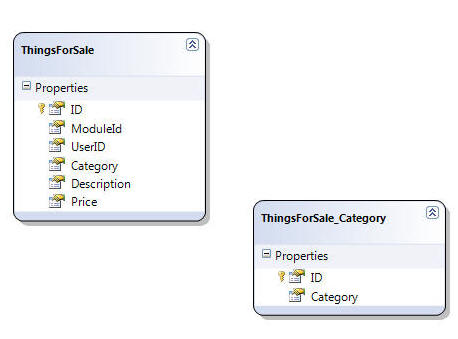
The ORM designer will open in the editing window and you will see the ThingsForSale class. |
 |
| In the Solution Explorer, click
the Server Explorer tab and create a connection to
the DotNetNuke database (if one is not already created). See this page for instructions on creating the connection. |
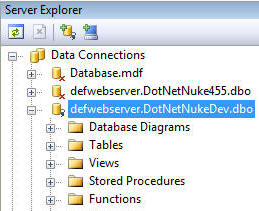 |
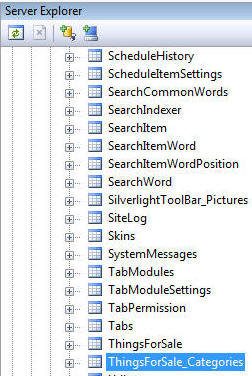
When the connection shows up in the Server Explorer, click the plus icon to expand it's object tree to display the tables. Locate the ThingsForSale_Categories table. Click on it and drag and drop it on the Object Relational Designer panel on the left. |
 |
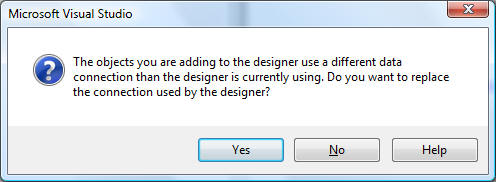
Click Yes. You will change it back later. |
 |
The ThingsForSale_Categories table will show. |
 |
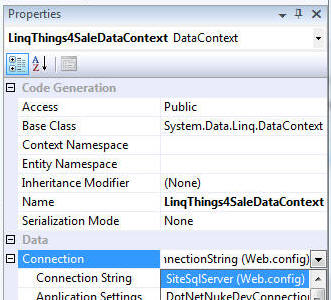
| Click anywhere in the white space on the
Object Relational Designer panel so that the
LinqThings4SaleDataContext properties show in the
Properties window (you can also select it from the
drop-down in the properties window). |
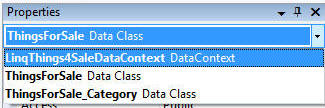 |
In the Connection drop-down select SiteSqlServer (Web.config). This instructs the class to use the connection string of the DotNetNuke site that it is running on. |
 |
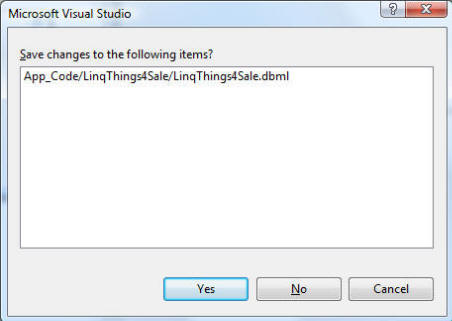
Close the LinqThings4Sale.dbml file. You should see a confirmation screen asking you to save it. Click the Yes button. |
 |
Add The Category Table To The Installation Script |
|
| We will now add the Category table
to the installation script. This will create the table when the module is installed. Currently there is a 01.00.00.SqlDataProvider file located in the "...\DesktopModules\LinqThings4Sale\Providers\DataProviders\SqlDataProvider\" directory (you should be using the module at this link). We will create a 02.00.00.SqlDataProvider file that will contain the script for the ThingsForSale_Categories table. We will then set the version number for the module to 02.00.00 to insure that the installation script will run when the module is installed. |
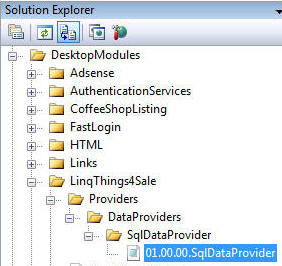 |
In Visual Studio, in the Solution Explorer, right-click on the 01.00.00.SqlDataProvider file located in the "...\DesktopModules\LinqThings4Sale\Providers\DataProviders\SqlDataProvider\" directory and select Copy. |
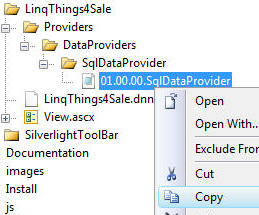 |
Right-click on the SqlDataProvider folder located in the "...\DesktopModules\LinqThings4Sale\Providers\DataProviders\" directory, and click Paste. |
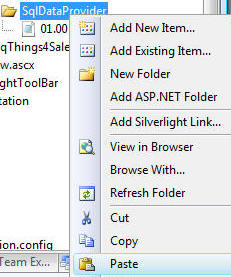 |
| Rename the file to 02.00.00.SqlDataProvider
and double-click on it to open it. Replace the entire contents with the Sql script used to create the table earlier and then save and close the file: |
 |
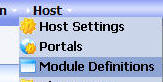
In the DotNetNuke website, select Module Definitions from the Host menu. |
 |
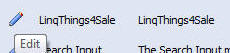
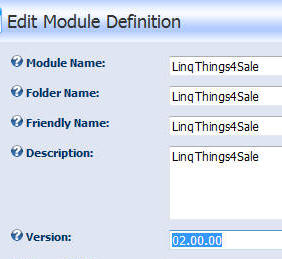
Locate the LinqThings4Sale entry and click on the Edit link. |
 |
Enter 02.00.00 for the Version and click the Update link. |
 |
Create a page to administer Categories |
|
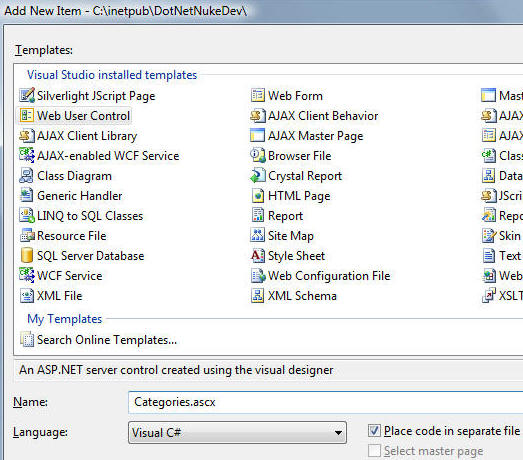
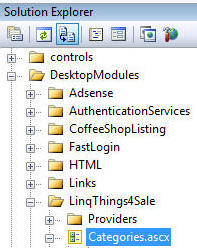
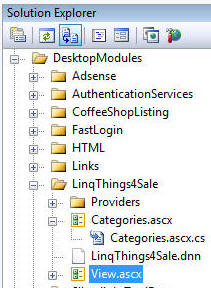
| Right-click on the Things4Sale directory located in the "...\DesktopModules\" directory and select Add New Item... | |
Select the Web User Control, enter Categories.ascx for the Name, select Visual C# for the Language, select the checkbox next to Place code in separate file, and click Add. |
 |
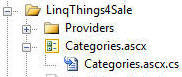
The Categories.ascx file will show up. Click the plus icon to show the code behind Categories.ascx.cs file. |
 |
| Open the Categories.ascx file and
switch to Source view. Replace all the code with
the following code: |
|
|
<% @ Control Language="C#" AutoEventWireup="true" CodeFile="Categories.ascx.cs" Inherits="DotNetNuke.Modules.LinqThings4Sale.Categories" %>< asp:Panel ID="Panel1" HorizontalAlign=Left runat="server">< asp:LinkButton ID="lnkBack" runat="server" onclick="lnkBack_Click">[Back]</asp:LinkButton></ asp:Panel>
|
 |
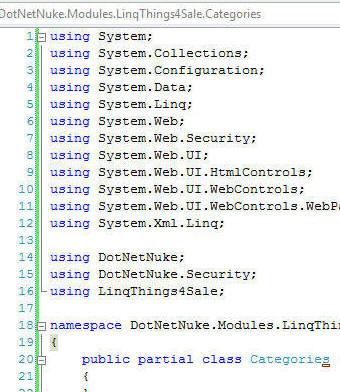
| Open the Categories.ascx.cs file.
Replace all the code with the following code: |
|
| using System; using System.Collections; using System.Configuration; using System.Data; using System.Linq; using System.Web; using System.Web.Security; using System.Web.UI; using System.Web.UI.HtmlControls; using System.Web.UI.WebControls; using System.Web.UI.WebControls.WebParts; using System.Xml.Linq; using DotNetNuke; using DotNetNuke.Security; using LinqThings4Sale; using DotNetNuke.Common; namespace DotNetNuke.Modules.LinqThings4Sale { public partial class Categories : DotNetNuke.Entities.Modules.PortalModuleBase { protected void lnkBack_Click(object sender, EventArgs e) { Response.Redirect(Globals.NavigateURL(), true); } } } |
 |
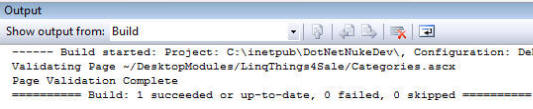
| Save the files and select Build then Build Page. |  |
The page should build without errors. |
 |
Add a link to the Category administration page |
|
|
To complete this task we need to: |
|
|
|
Create a control definition for the Categories.ascx page |
|
In the DotNetNuke site, from the Host menu, select Module Definitions. |
 |
Locate the LinqThings4Sale entry and click on the Edit link. |
 |
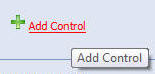
Click the Add Control link (at the bottom of the page). |
 |
|
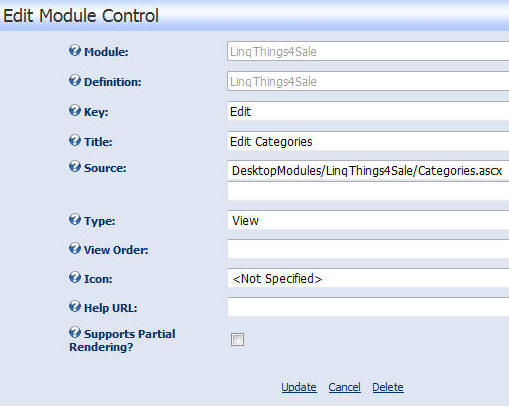
Enter:
and click the Update link. |
 |
In Visual Studio Solution Explorer, double-click on the View.ascx.cs file located in the "...\DesktopModules\LinqThings4Sale\" directory, |
|
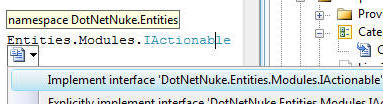
Next to the word PortalModuleBase enter: |
 |
| , Entities.Modules.IActionable | |
Click once on the line you just entered. A help menu will appear. Click on the small black down pointing arrow to display the suggestion menu. Select "Implement Interface 'DotNetNuke.Entities.Modules.IActionable". |
 |
The Interface will be implemented at the bottom of the page (you will have to scroll down the page to see it). |
 |
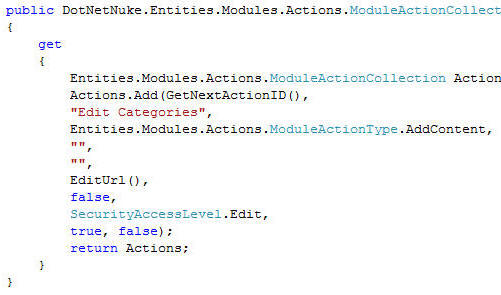
| Change the method so it reads: |
|
| public
DotNetNuke.Entities.Modules.Actions.ModuleActionCollection
ModuleActions { get { Entities.Modules.Actions.ModuleActionCollection Actions = new Entities.Modules.Actions.ModuleActionCollection(); Actions.Add(GetNextActionID(), "Edit Categories", Entities.Modules.Actions.ModuleActionType.AddContent, "", "", EditUrl(), false, SecurityAccessLevel.Edit, true, false); return Actions; } } |
 |
| Save the page. | |
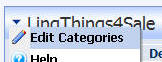
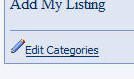
When you browse to the page in the DotNetNuke site as a user who has Edit permission to the module, you will see a Edit Categories link on the configuration menu and on the module bar. |
|
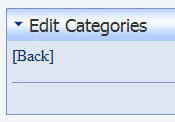
When you click on the Edit Categories link you are taken to the Edit Categories page. You can then click the [Back] link to return to the main page. |
 |
| See the following tutorials for more assistance on module navigation: | |
Place two LinqDataSource controls and a GridView and FormView control on the page |
|
Double-click on the Categories.ascx page to open it. Switch to Design view. |
 |
Drag and drop a LinqDataSource control on the page. |
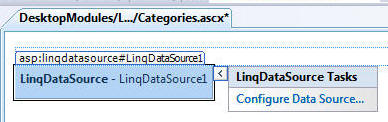 |
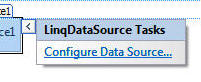
Click on the options for the LinqDataSource control and click on Configure Data Source. |
 |
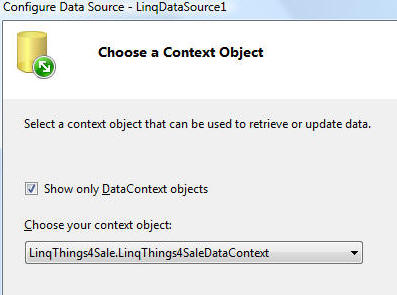
Choose LinqThings4Sale.LinqThings4SaleDataContext. |
 |
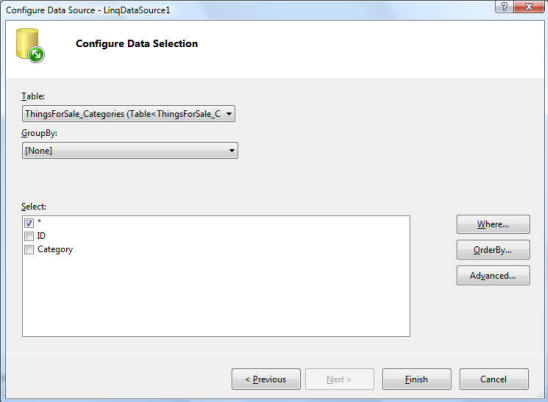
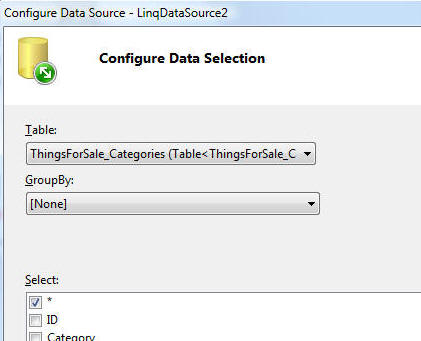
Select the ThingsForSale_Categories table in the Table drop-down. Click the Finish button. |
 |
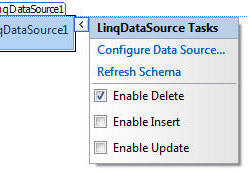
On the options for the LinqDataSource control, check the Enable Delete box. |
 |
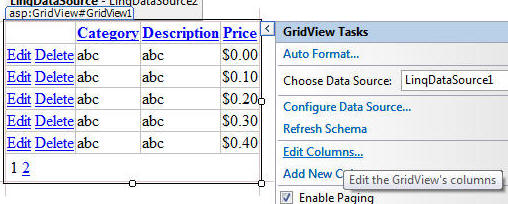
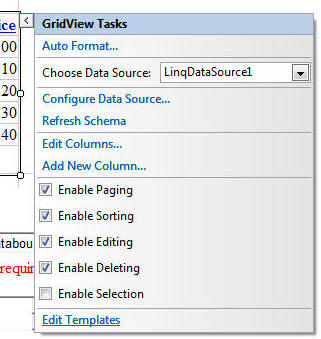
Drag and drop a GridView below the LinqDataSource control. In the GridView options, select LinqDataSource1 in the Choose Data Source drop-down. |
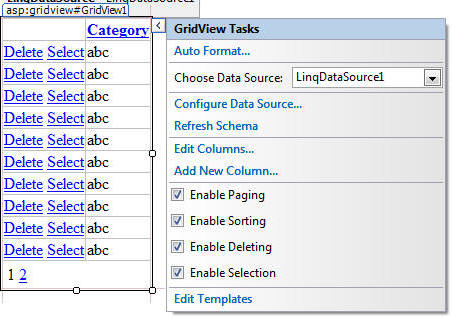 |
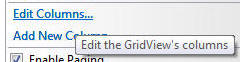
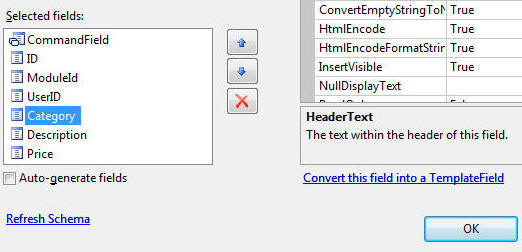
Click the Edit Columns link. |
 |
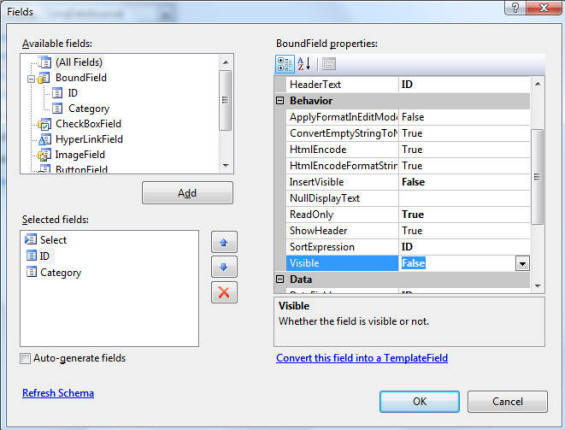
Select ID from the Selected fields box and change Visible to false in the BoundField properties box. |
 |
Drag and drop another LinqDataSource control below the GridView. |
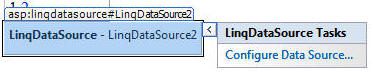 |
Choose LinqThings4Sale.LinqThings4SaleDataContext and select the ThingsForSale_Categories table in the Table drop-down. |
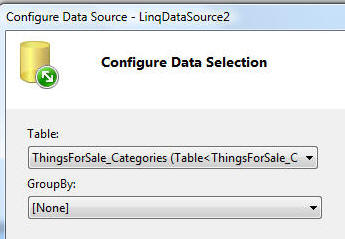 |
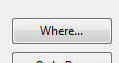
Click the Where button. |
 |
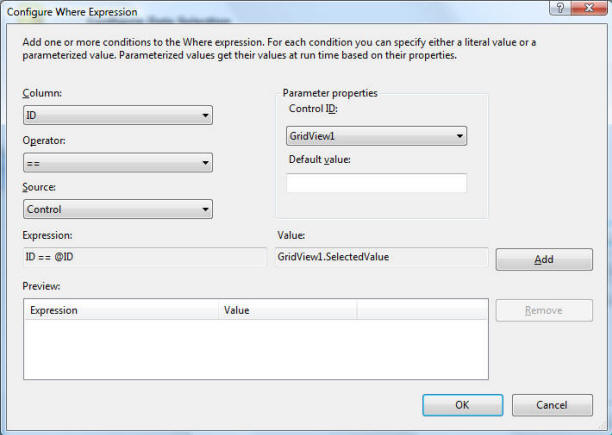
In the Configure Where Expression box: * Select ID for Column * == for Operator * Control for Source * GridView1 for Control ID * Click the Add button * Click the OK button * On the next window click the Finish button. |
 |
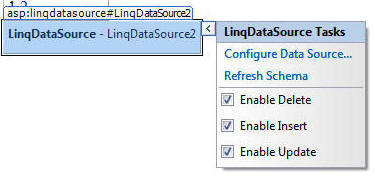
On the options for the LinqDataSource control, check the Enable Delete, Enable Insert, and Enable Update box. |
 |
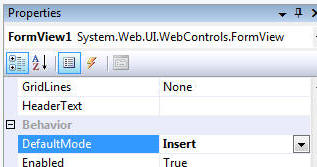
Drag and drop a FormView control below the LinqDataSource control. In the FormView options, select LinqDataSource2 in the Choose Data Source drop-down. |
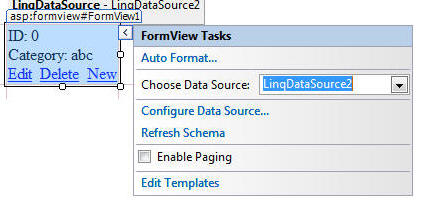 |
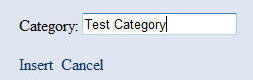
In the FormView properties, select Insert from the DefaultMode drop-down. |
 |
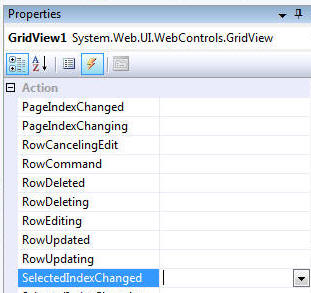
Click on the GridView and in the GridView properties, click the yellow "laserbolt" events button. |
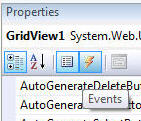 |
Double-click on the box next to SelectedIndexChanged. |
 |
This will wire-up an event. Change the method so it reads: |
|
protected void GridView1_SelectedIndexChanged(object sender, EventArgs e) { FormView1.ChangeMode(FormViewMode.Edit); FormView1.DataBind(); } |
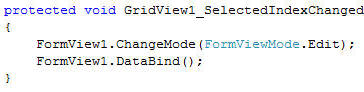 |
This will cause the FormView to change to the edit mode and show to the currently selected Category. |
|
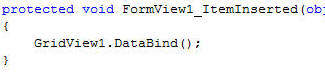
Click on the FormView, and in it's event properties double-click on the box to the right of ItemInserted. |
|
This will wire-up an event. Change the method so it reads: |
|
| protected void FormView1_ItemInserted(object sender, FormViewInsertedEventArgs e) { GridView1.DataBind(); } |
 |
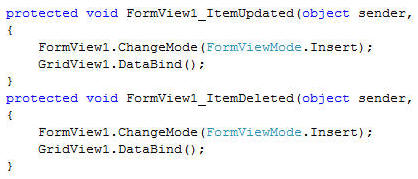
Follow the same steps to wire-up events for FormView1_ItemUpdated and FormView1_ItemDeleted. You will need to return to the FormView each time and select the events and double-click on the box to the right of the event to wire-up the method. Code the methods like this: |
|
| protected void FormView1_ItemUpdated(object sender, FormViewUpdatedEventArgs e) { FormView1.ChangeMode(FormViewMode.Insert); GridView1.DataBind(); } protected void FormView1_ItemDeleted(object sender, FormViewDeletedEventArgs e) { FormView1.ChangeMode(FormViewMode.Insert); GridView1.DataBind(); } |
 |
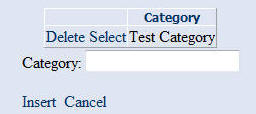
When logged into the DotNetNuke site as a user with Edit permission to the module you will see the Edit Categories link. This link will take you to the Category administration. |
 |
This will allow you to insert, edit and delete categories. |
  |
Configure the main Things4Sale page to use Categories from the Category table |
|
First, delete any entries you may have in the LinqThings4Sale table. You may have entries that contain a Category that is not entered into category administration. This will cause an error after you complete this section. |
 |
In Visual Studio, double-click on View.ascx. |
 |
Switch to Design view if the page is not already in design view. Drag a LinqDataSource control and drop it above the GridView. Click on the options for the LinqDataSource control and select Configure Data Source... |
 |
Select the ThingsForSale_Categories table. |
 |
Click on the options for the GridView and select Edit Columns.. |
 |
Click on Category in the Selected fields box and then click on Convert this field into a TemplateField. Click the OK button. |
 |
Click on the GridView options again and select Edit Templates. |
 |
Select EditItemTemplate. |
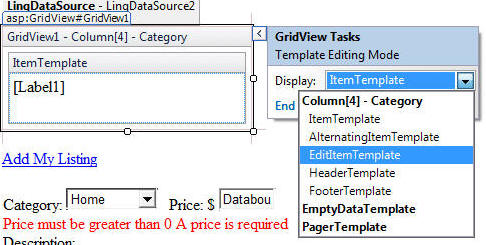 |
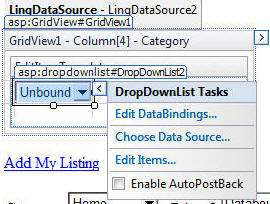
Click on the TextBox and remove it by clicking the Delete key. Drag and drop a DropDownList control in its place. In the DropDownList Tasks click Edit DataBindings... |
 |
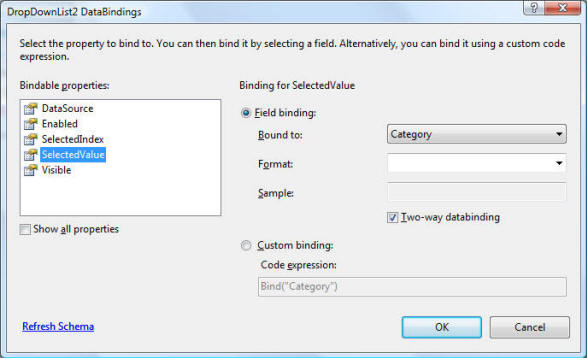
Choose SelectedValue in the Bindable properties box. Choose Category in the Bound to drop-down. Check the Two-way databinding box. Click the OK button. |
 |
Select Choose Data Source... |
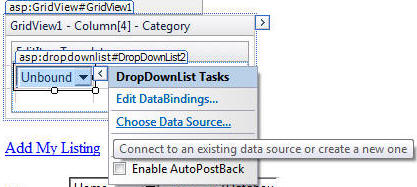 |
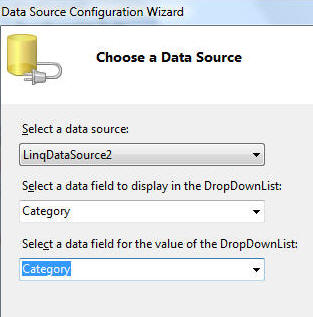
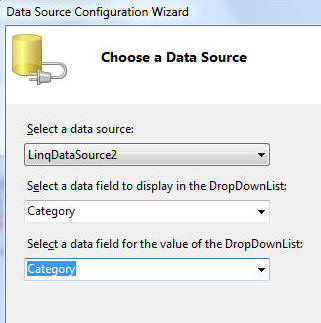
Select LinqDataSource2 in the Select a data source drop-down. Select Category for the Select a data field to display in the DropDownList drop-down. Select Category for the Select a data field for the value of the DropDownList drop-down. Click the OK button. |
 |
On the FormView options, click Edit Templates. |
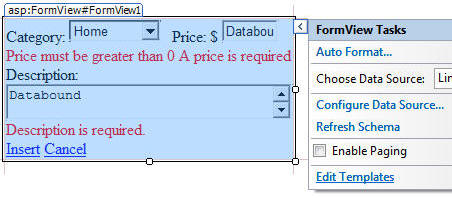 |
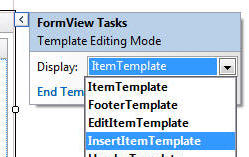
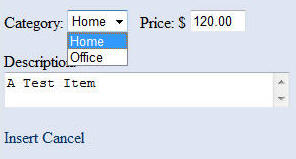
Select the InsertItemTemplate. |
 |
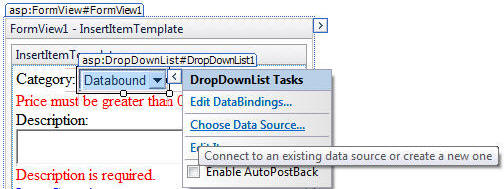
Click on the options for the Category drop-down and click the Choose Data Source link. |
 |
Select LinqDataSource2 in the Select a data source drop-down. Select Category for the Select a data field to display in the DropDownList drop-down. Select Category for the Select a data field for the value of the DropDownList drop-down. Click the OK button. |
 |
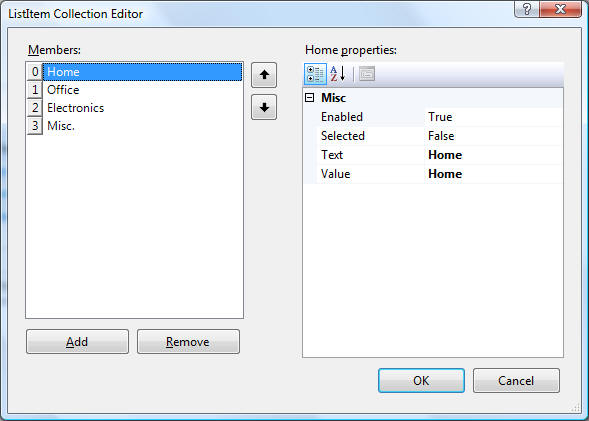
Choose Edit Items... |
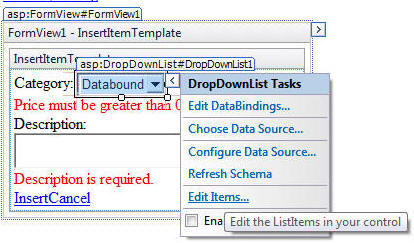 |
Remove all the existing items. Click the OK button. |
 |
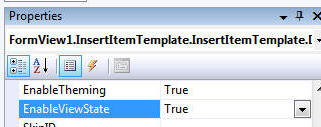
In the properties for the drop-down set EnableViewState to True. (If you do not do this you will get the Databinding methods such as Eval(), XPath(), and Bind() can only be used in the context of a databound control. error.) 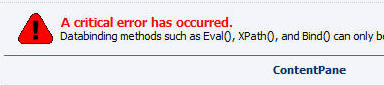 |
 |
| Save the Page. | |
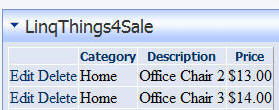
The FormView and the GridView will now use the Categories created in the Category administration. |
  |
Back to: Creating a DotNetNuke® Module using LINQ to SQL For absolute beginners! Part 2
DotNetNuke® is a registered trademark of the DotNetNuke Corporation