
Back To: Silverlight Tutorials
Various methods exists for creating Silverlight XAML objects. Many of these methods dynamically create XAML. The problem that arises is that this XAML cannot be edited with a designer such as Expression Blend. Justin-Josef Angel in "Silverlight Controls - The path to reusable XAML" describes a method to create XAML objects in a designer editable .xaml file that is paired with a code behind file that contains the methods for XAML object.
This tutorial contains a simplified implementation as well as a few minor refinements.

In Visual Studio 2008 (or higher), click File on the menu bar and select New then Project.
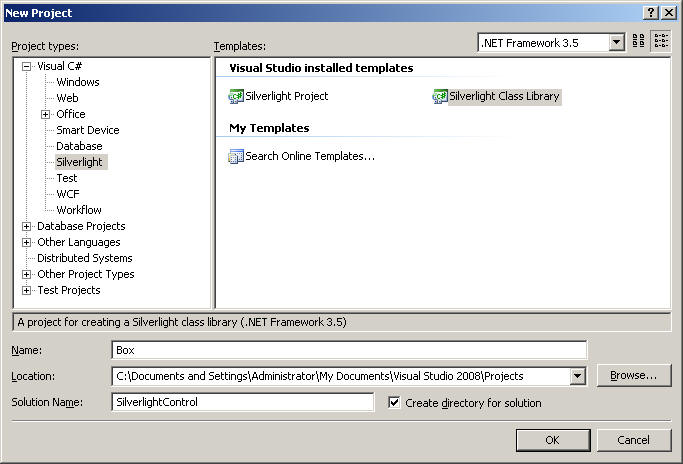
In the New Project dialog, select Silverlight Class Library for the Template, enter Box for the Name, enter SilverlightControl for the Solution Name, and check the box next to Create directory for solution. Click the Ok button.
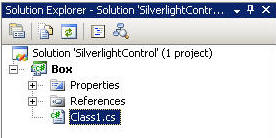
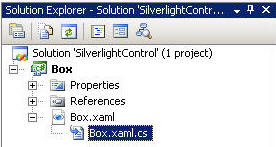
In the Solution Explorer, a Class1.cs file will be created.
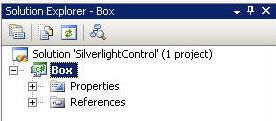
Click on the Class1.cs file and click Delete to delete it.
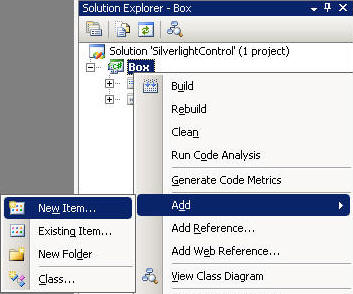
Right-click on the Box project and select Add then New Item...
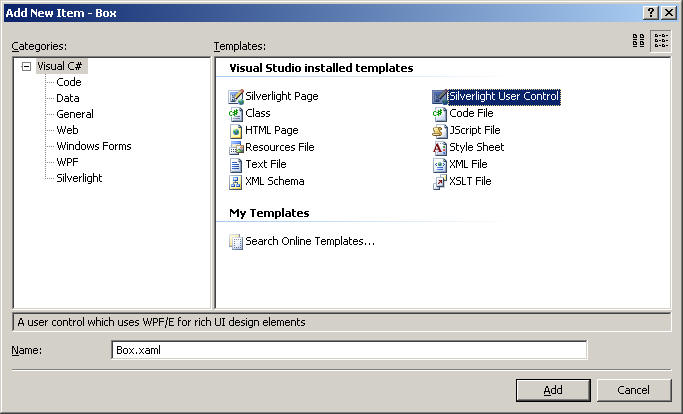
Select Silverlight User Control as the Template and enter Box.xaml for Name:. Click the Add button.
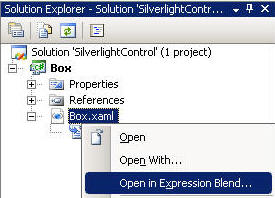
If you have Expression Blend 2 (or higher) installed, you can right-click on the Box.xaml file and select Open in Expression Blend... If you do not have Expression Blend you can skip the next two steps and paste the code (shown below) directly into the Box.xaml file inside Visual Studio 2008.

Click Yes if prompted to save changes to Box.
When the box.xaml file displays, switch to XAML view replace all the code with the following:
<Canvas
xmlns="http://schemas.microsoft.com/client/2007"
xmlns:x="http://schemas.microsoft.com/winfx/2006/xaml"
x:Name="box"
Width="100" Height="50">
<Canvas.Background>
<LinearGradientBrush
EndPoint="0.49,-0.342" StartPoint="0.49,1.662">
<GradientStop
Color="#FF000000" Offset="0"/>
<GradientStop
Color="#FF1C408C" Offset="0.99"/>
<GradientStop
Color="#FF334160" Offset="0.375"/>
<GradientStop
Color="#FFC1CADE" Offset="0.625"/>
</LinearGradientBrush>
</Canvas.Background>
<TextBlock x:Name="BoxTitle"
Width="50" Height="23" Text="test" TextWrapping="Wrap" Canvas.Left="33"
Canvas.Top="15"/>
</Canvas>
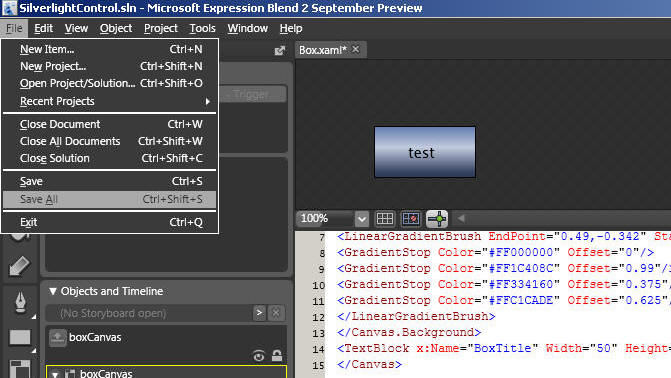
From the menu toolbar, select File then Save All.. then close Expression Blend.
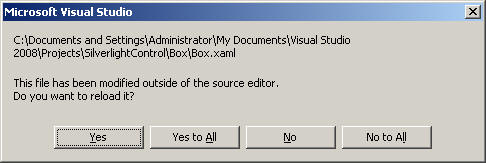
Click Yes when prompted to reload changes to Box.xaml.
In the Solution Explorer, double-click on the Box.xaml.cs file to open it in the editing window. Replace all the code with the following code:
using System;
using System.Windows;
using System.Windows.Controls;
using System.Windows.Documents;
using System.Windows.Ink;
using System.Windows.Input;
using System.Windows.Media;
using System.Windows.Media.Animation;
using System.Windows.Shapes;
namespace Box
{
public class Box : Control
{
public Box()
{
this.Loaded += new EventHandler(Box_Loaded);
}
private FrameworkElement newElement;
void Box_Loaded(object sender, EventArgs e)
{
System.IO.Stream s = this.GetType().Assembly.GetManifestResourceStream(this.GetType(),
"Box.xaml");
string originalXaml = new System.IO.StreamReader(s).ReadToEnd();
originalXaml = originalXaml.Replace("Name=\"", string.Format("Name=\"{0}_",
ID));
newElement = this.InitializeFromXaml(originalXaml);
SetControlReferences();
}
private void SetControlReferences()
{
TextBlock tmpTextBlock;
tmpTextBlock = FindNameByXamlID("BoxTitle") as TextBlock;
tmpTextBlock.Text = _BoxTitle;
}
private DependencyObject FindNameByXamlID(string nameInXamlFile)
{
return newElement.FindName(GetIdFor(nameInXamlFile));
}
private string GetIdFor(string nameInXamlFile)
{
return String.Format("{0}_{1}", this.ID, nameInXamlFile);
}
private string _BoxTitle = "temp";
public string BoxTitle
{
get { return _BoxTitle; }
set { _BoxTitle = value; }
}
private string _ID = "temp";
public string ID
{
get { return _ID; }
set { _ID = value; }
}
}
}
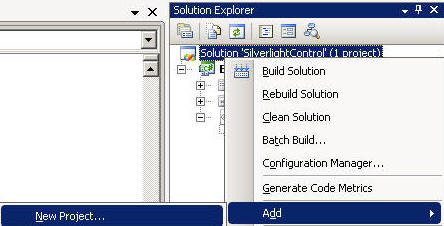
Right-click on the solution in the Solution Explorer and select Add then New Project...
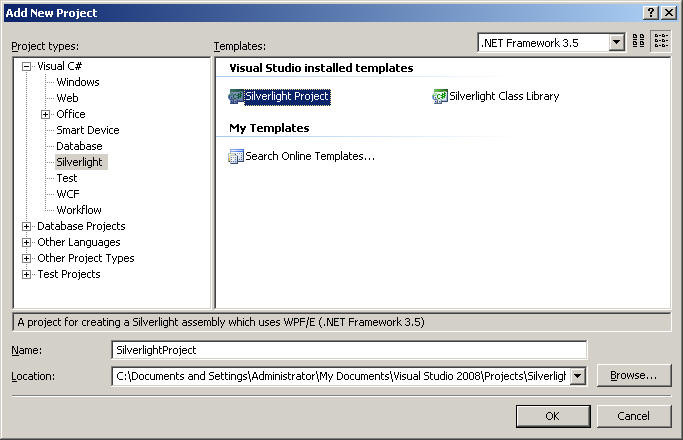
In the Add New Project dialog select Silverlight Project as the template and enter SilverlightProject as the Name. Click the OK button.
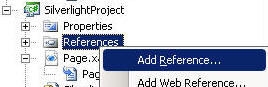
Right click on the References in the SilverlightProject and select Add Reference...
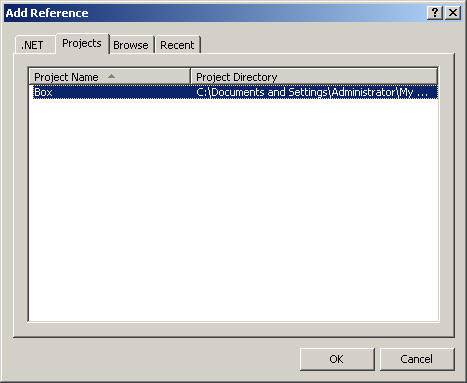
In the Add Reference dialog, switch to the Projects tab and select the Box project and click the OK button.
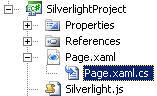
In the SilverlightProject double-click on the Page.xaml.cs file to open it in the editor window.
Replace all the code with the following code:
using System;
using System.Windows;
using System.Windows.Controls;
using System.Windows.Documents;
using System.Windows.Ink;
using System.Windows.Input;
using System.Windows.Media;
using System.Windows.Media.Animation;
using System.Windows.Shapes;
namespace SilverlightProject
{
public partial class Page : Canvas
{
public void Page_Loaded(object o, EventArgs e)
{
// Required to initialize variables
InitializeComponent();
LoadBoxes();
}
private void LoadBoxes()
{
for (int i = 0; i < 4; i++)
{
Box.Box newBox = new Box.Box();
newBox.ID = "box" + i;
newBox.BoxTitle = "Box" + i;
newBox.SetValue(Canvas.TopProperty, i * 40);
newBox.SetValue(Canvas.LeftProperty, i * 40);
this.Children.Add(newBox); ;
}
}
}
}
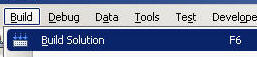
From the menu toolbar select Build then Build Solution. The site should build without errrors.
Right-click on the solution in the Solution Explorer and select Add then New Project...
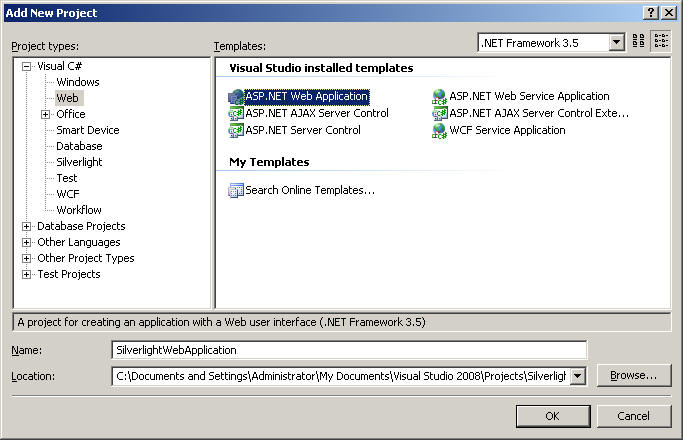
In the Add New Project dialog select ASP.NET Web Application as the template and enter SilverlightWebApplication as the Name. Click the OK button.
![]()
Right-click on the SilverlightWebApplication and select Add Silverlight Link...
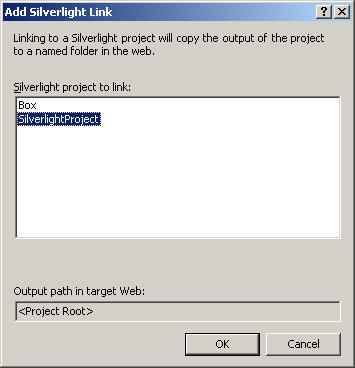
Select the SilverlightProject and click the Ok button.

Select Yes to enable Silverlight debugging.
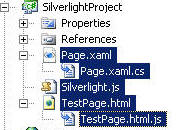
Individually select Page.xaml, Silverlight.js, TestPage.html from the SilverlightProject project and drag into the SilverlightWebApplication project.
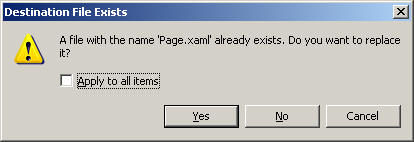
When prompted to replace a file click Yes.
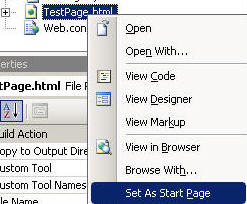
In the SilverlightWebApplication project, right-click on the TestPage.html file and select Set As Start Page.
IMPORTANT: Delete the Default.aspx and Page.xaml.cs pages from the SilverlightWebApplication project.
![]()
Right-click on the SilverlightWebApplication project and select Set as StartUp Project.
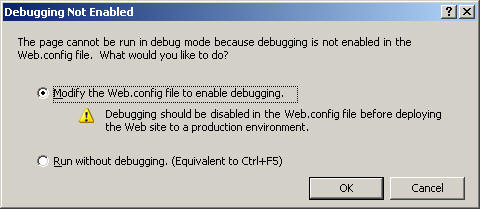
Hit the F5 button to compile the project and run it. Select OK to Modify the Web.config to enable debuging.
The results will now appear.
Download the complete source code here: Silverlight11Project.zip
Back To: Silverlight Tutorials
Also See:
![]()