What you will need:
|
Create a user
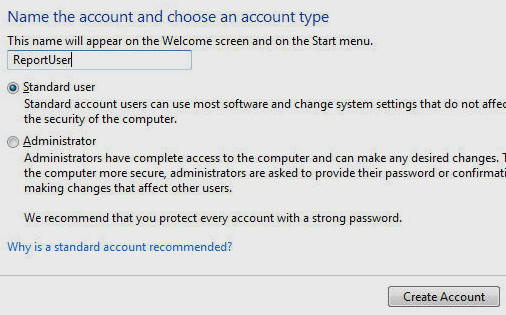
Create a user (a non administrator) named ReportUser (in the account management for your computer)
Make sure you create a password for ReportUser.
Log off and log back in as ReportUser.
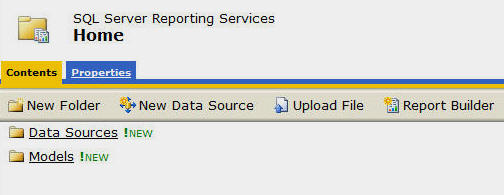
Go to the Reporting Services website (usually http://<server name>/Reports).
You wont see any Reports, Data Sources, or Report Models because ReportUser has not been configured in security.

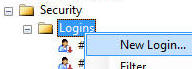
Add ReportUser to SQL security
Use the SQL Server Management Studio to create a New Login...
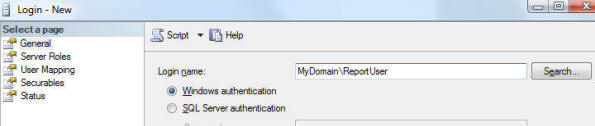
Select Windows authentication and select the ReportUser useing the Search button.
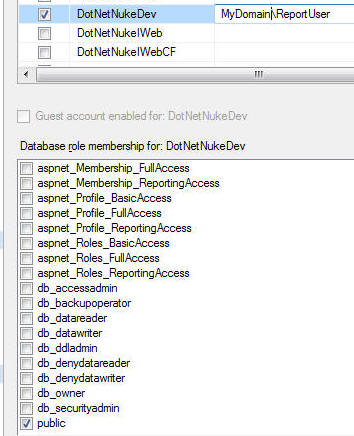
Click the User Mapping icon and check the box next to the DotNetNuke database.
Check the box next to public for Database role membership.
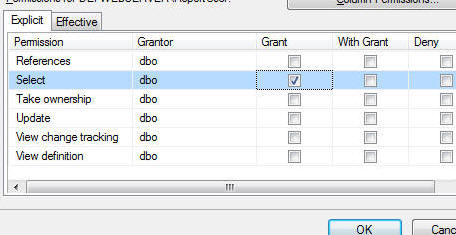
Click the Permissions icon and use the Search button to select the ReportUser.
Check the Grant checkbox next to Select and click the OK button.
Add ReportUser to Reporting Services Security

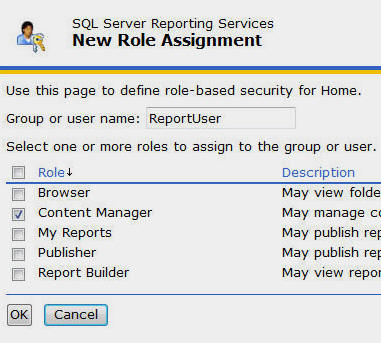
Enter ReportUser for the user name.
Check the box next to Content Manager.
Click OK.
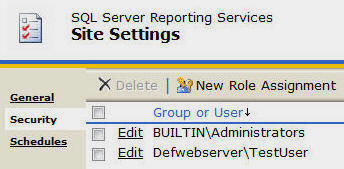
Click the Security link (on the left)
Click New Role Assignment.
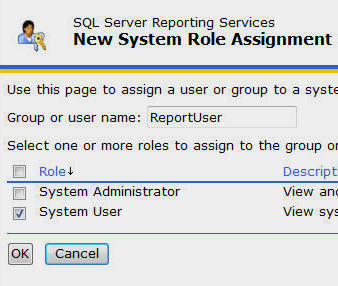
Enter ReportUser for the user name.
Check the box next to System User and click the Apply button.
Create a Report
Go to the Reporting Services website (usually at: http://<server name>/Reports).
Click the Report Builder icon
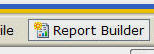
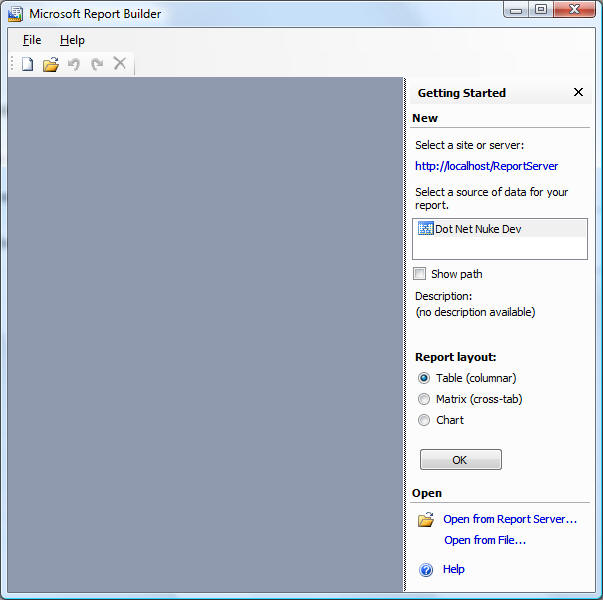
The Report Builder will launch.
Click on the Report Model you created in the previous tutorial to select it.
Click the OK button
Note: You can download and install Report Builder 2.0 for a better report builder.
The Design Report screen will open.
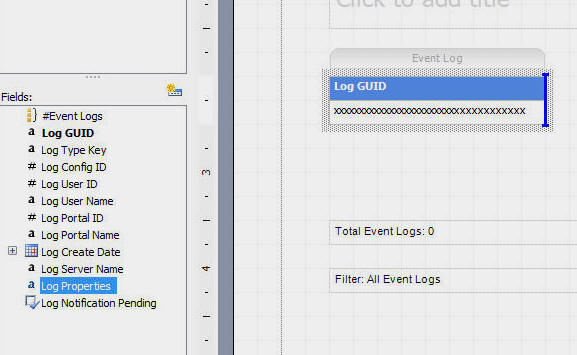
Drag the Log GUID field from the Fields section and drop it on the Drag and drop column fields box.
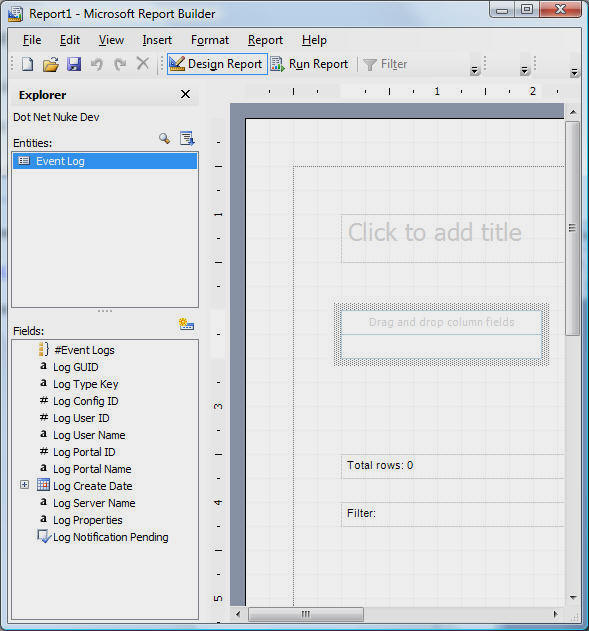
Drag the Log Properties field and drop it to the right of Log GUID.
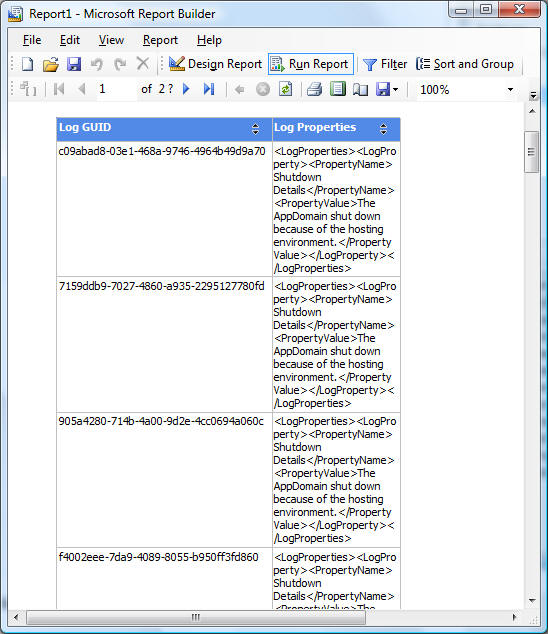
Click the Run Report button to preview the report.
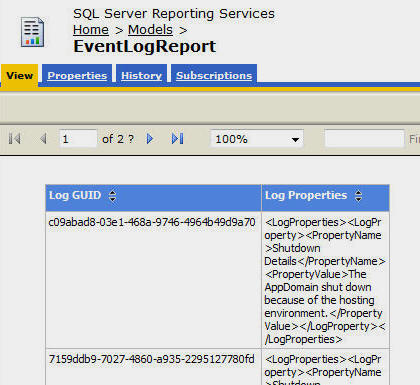
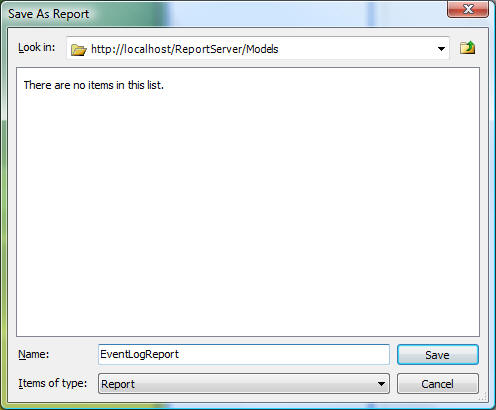
From the menu bar, select File then Save.
Enter EventLogReport for the Name.
Ensure the report is being saved in the Models folder.
Click the Save button.
Switch back to the Report Server manager in your web browser.
When you click on the Models folder you will see the report.
When you click on the report it will display.