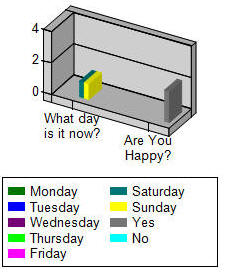
You can implement complex reports and graphs that can be exported to Excel or Adobe PDF using the free Microsoft ReportViewer. For this example we will create a Survey and enter some data. We will then create a DotNetNuke module that will use the ReportViewer to display a simple report and graph.
Add the Survey module to a page in your DotNetNuke site (see this page for instructions).
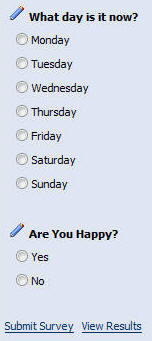
Enter a few questions.

Configure the Survey to use Registered User Vote Tracking.
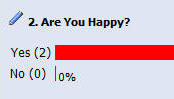
Then, submit answers with a few different users. You will have to log in as each user to do this.
First, install the latest version of DotNetNuke from DotNetNuke.com (see this page for assistance). From the menu bar select File then Open Web Site... to open the site in Visual Studio.
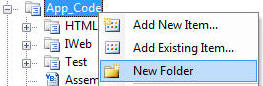
In the Solution Explorer, right-click on the App_Code folder and select New Folder.
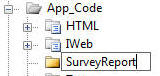
Name the folder "SurveyReport".
![]()
Right-click on SurveyReport and select Add new Item...
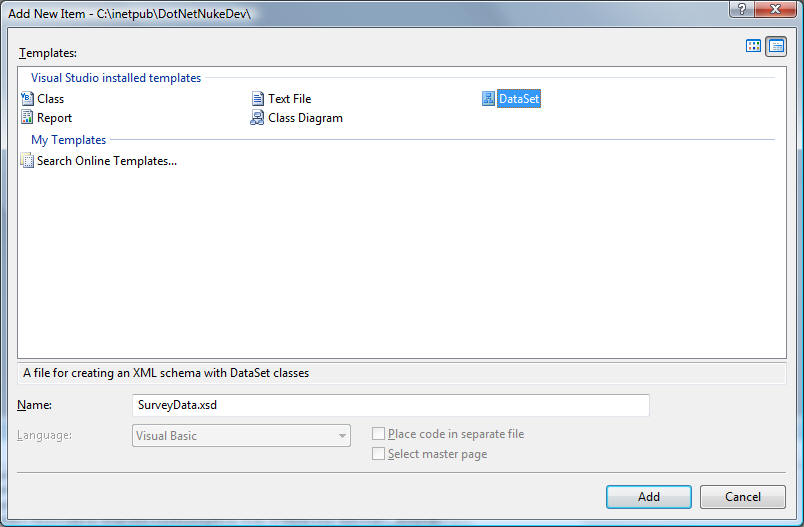
From the Add New Item menu select DataSet and name it SureyData.xsd. Click the Add button.
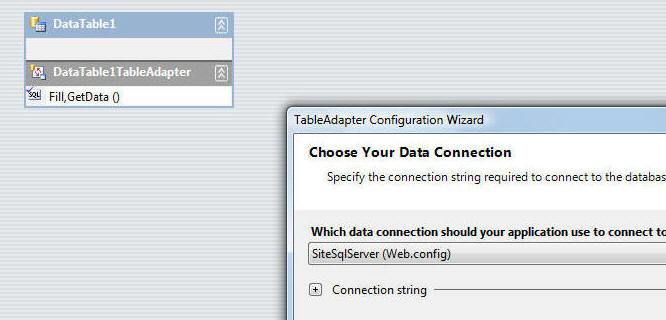
The TableAdapter Configuration Wizard will appear. Select SiteSqlServer from the drop-down and click Next.
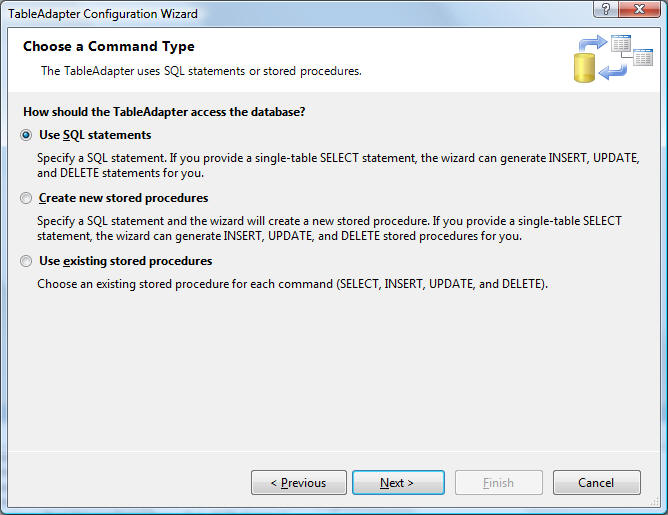
Select Use SQL statements on the next screen and click Next.
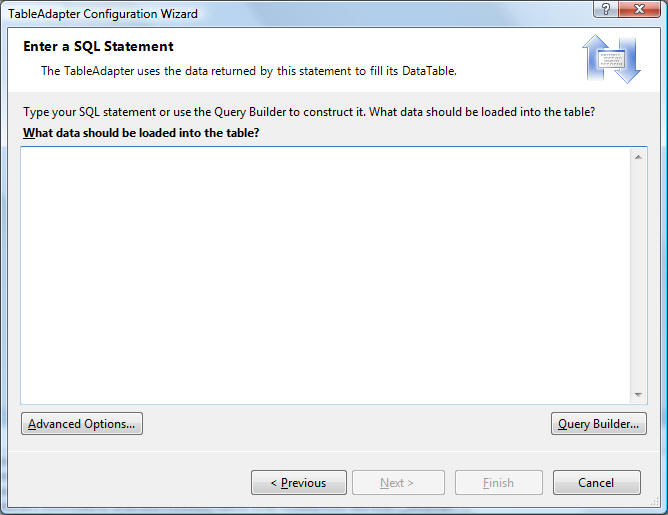
Click the Query Builder button.
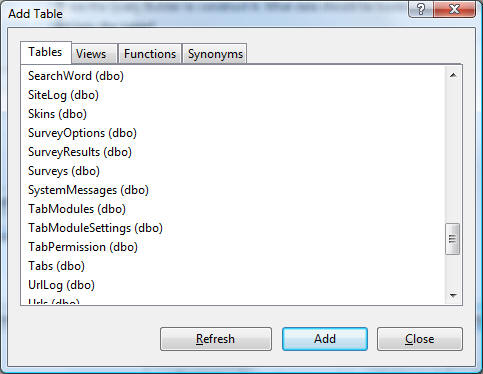
When the Add Table box appears, click the Refresh button and ensure that you see Surveys in the list of tables.

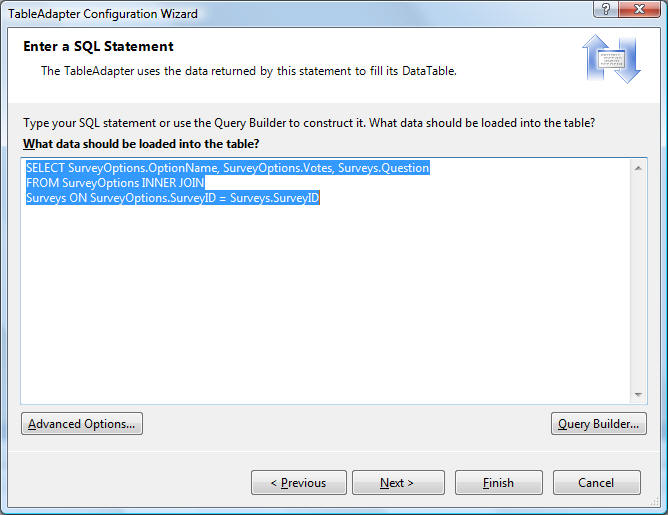
Click Close on the Add Table box and Cancel on the Query Builder box, and enter the following in the box on the Enter a SQL Statement step and click Finish.
SELECT SurveyOptions.OptionName, SurveyOptions.Votes,
Surveys.Question
FROM SurveyOptions INNER JOIN
Surveys ON SurveyOptions.SurveyID = Surveys.SurveyID
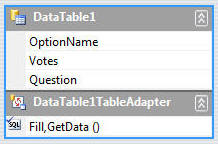
You have now configured a Table adapter that contains the data for your report.
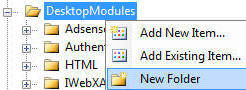
In the Solution Explorer, right-click on the DesktopModules folder and select New Folder.
![]()
Name the folder "SurveyReport".
![]()
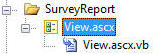
Next, right-click on the SurveyReport folder and select Add New Item...
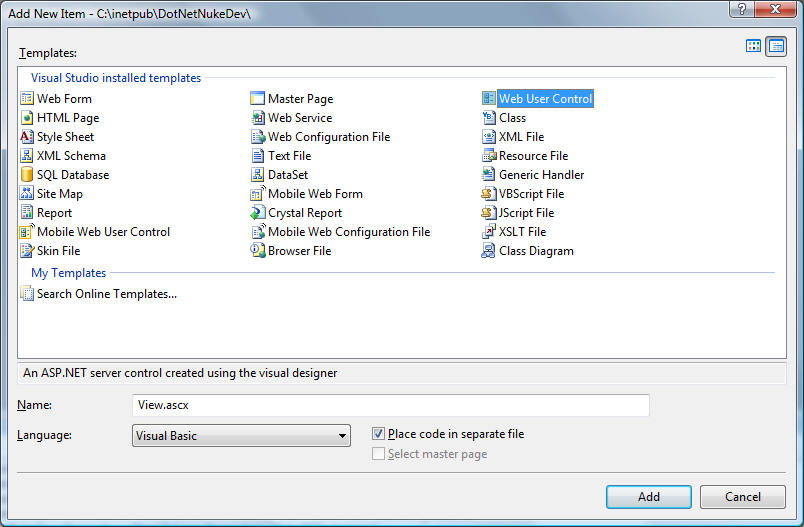
Select Web User Control, enter View.ascx for the name, select Visual Basic for the language, ensure that Place code in a separate file is checked, and click the Add button.
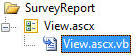
In the Solution Explorer, double-click on the View.ascx.vb file and open it in the code editing window.
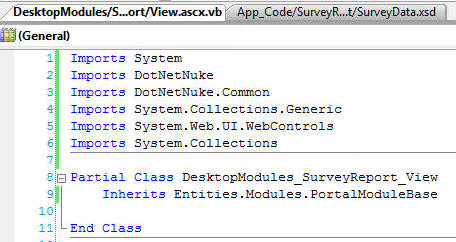
Enter the following code and save the page:
Imports System
Imports DotNetNuke
Imports DotNetNuke.Common
Imports System.Collections.Generic
Imports System.Web.UI.WebControls
Imports System.Collections
Partial Class DesktopModules_SurveyReport_View
Inherits Entities.Modules.PortalModuleBase
End Class
In the Solution Explorer, double-click on View.ascx to open it in the code editing window.
![]()
Switch to Design view.
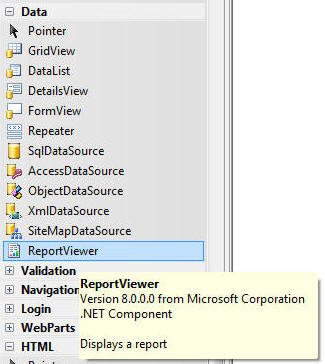
From the Toolbox, under the Data section select ReportViewer and drag it to the design surface of the View.ascx page.
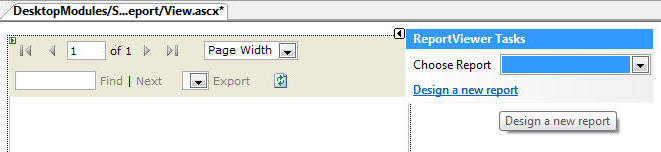
Click the < arrow in the upper right-hand corner of the ReportViewer control to display the Task menu. Click on the Design a new report link.
The report designer will appear.
![]()
Switch to Toolbox.
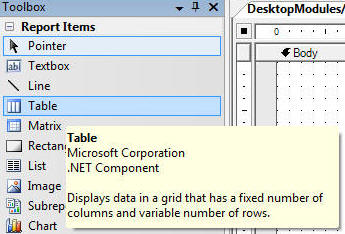
From the Toolbox, select Table and drag it to the design surface.
![]()
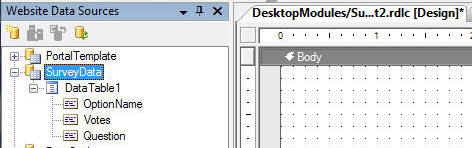
Switch back to Website Data Sources.

Expand the SurveyData node (if it is not already expanded).
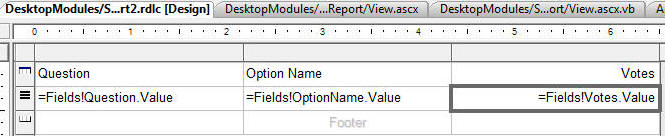
Drag the Question, OptionName, and Votes fields to a separate columns on the Detail row (the second row) on the Table. The name of the field will automatically appear in the Header row.
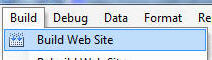
From the Toolbar menu select Build then Build Web Site. The site should build without errors.
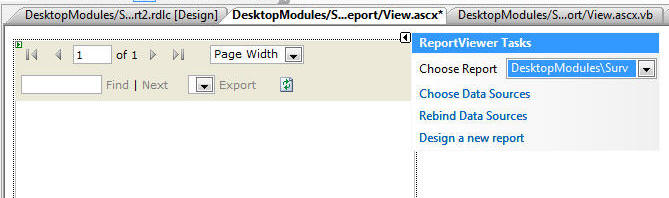
Select the View.ascx page, and on the design view, click the < arrow in the upper right-hand corner of the ReportViewer control to expand the ReportViewer Tasks menu. From that menu, for the Choose Report option, select the .rdlc report that is located in the DesktopModules\SureyReport folder.
Save the page.
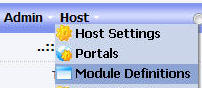
Navigate to the DotNetNuke site using the web browser and log in as the Host account. From the Host menu, select Module Definitions.
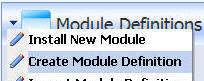
From the Module Definitions menu select Create Module Definition.
Enter "SurveyReport" for Module Name, Folder Name, and Friendly Name. Then click the Create link.
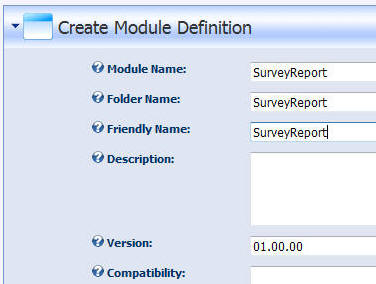
Next, enter "SurveyReport" for New Definition and click the Add Definition link.
![]()
Click the Add Control link.
![]()
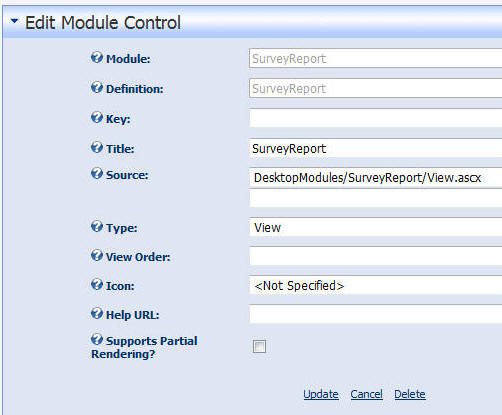
On the Edit Module Control page enter "SurveyReport" for Title, select the DesktopModules/SurveyReport/View.ascx from the Source drop-down, ensure that Type is set to View and click the Update link.
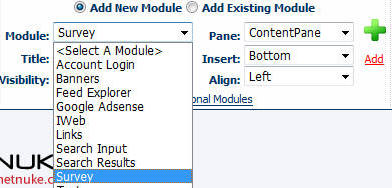
Navigate to a page in the DotNetNuke site, and from the administration menu, select SurveyReport from the Module drop-down and click the Add link.
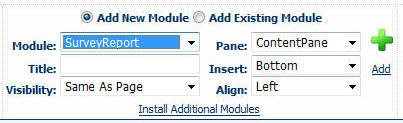
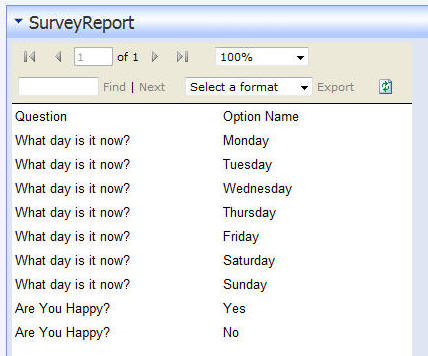
The module will now appear.
Return to Visual Studio navigate to the report designer.
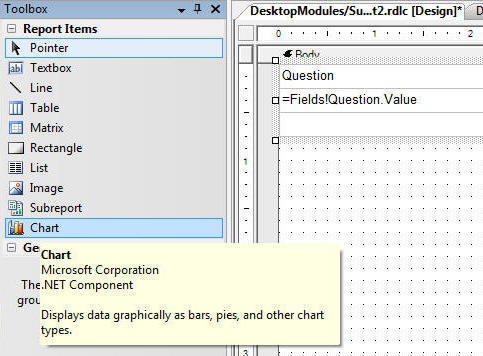
Switch to the Toolbox and select and drag a Chart control to the design surface.
Switch to Website Data Sources.
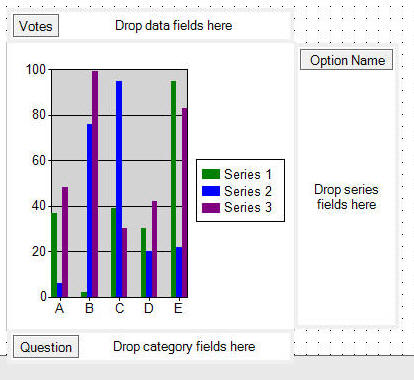
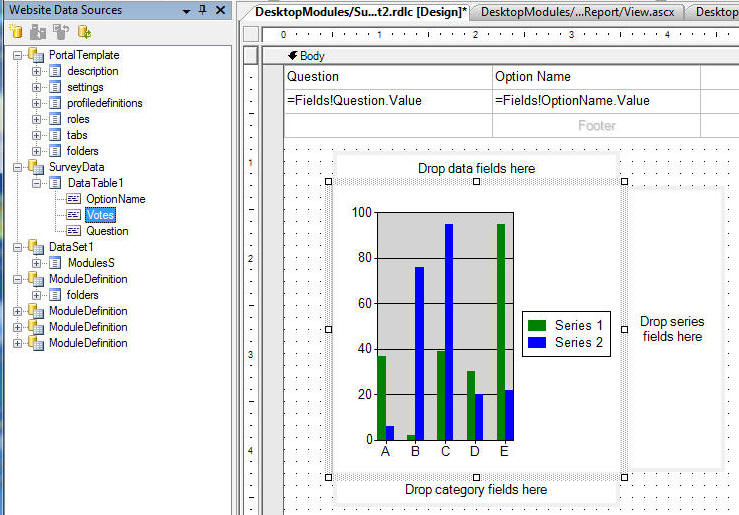
Carefully drag each field first on top of the colored part of the chart graphic then into each chart section so the layout resembles the graphic above.
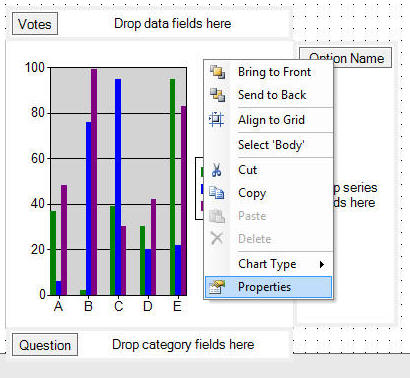
Right-click on the report and select properties

On the Legend tab select Table for Layout and the lower middle square for Position.
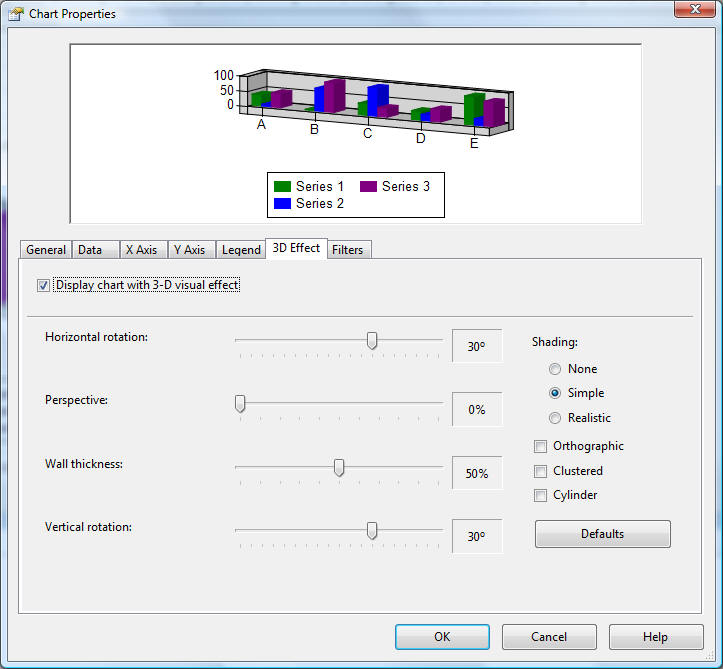
On the 3D Effect tab, click the Display chart with 3-D visual effect.
Click the OK button.
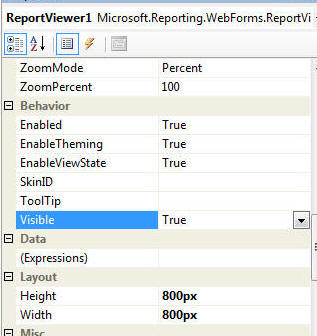
Switch to the View.ascx page and click once on the ReportViewer control. In the control properties set the Height and Width to 800px.
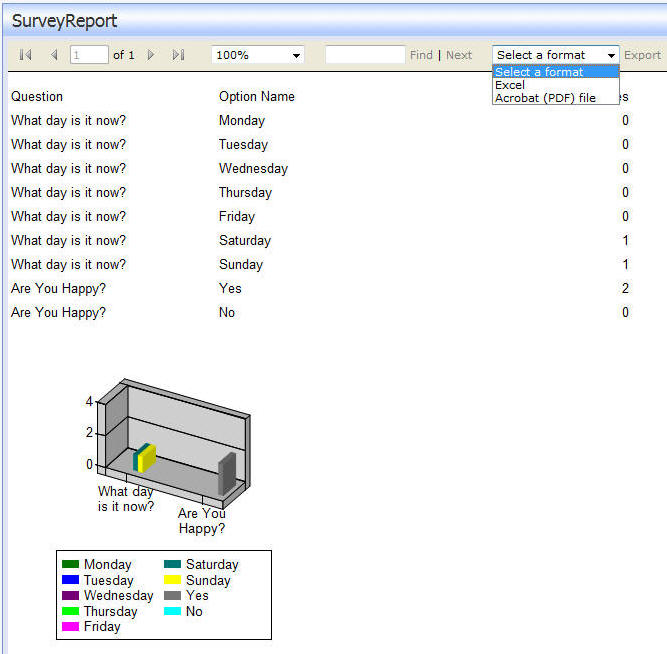
Hold down the Ctrl key and the Shift key and click the S key (Ctrl+Shift+S) to save all pages. Refresh the page in the web browser. The finished report should now appear.
Switch back to Visual Studio.
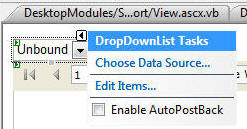
In the design view of View.ascx, place a DropDownList above the report control. From it's Tasks menu, select Edit Items.
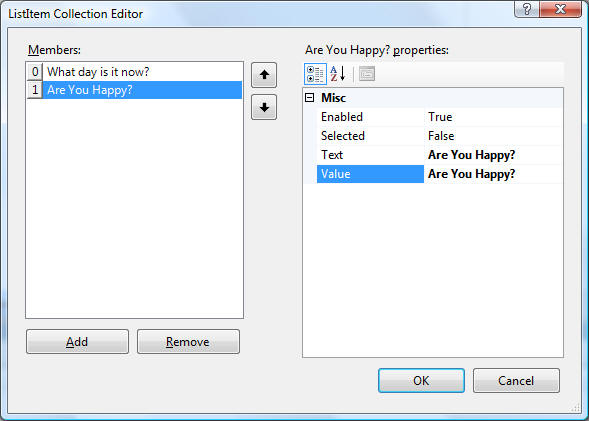
In the ListItem Collection Editor, enter values you would like to search on. and click the OK button.
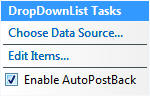
On it's Tasks menu of the DropDownList, select Enable AutoPostBack.
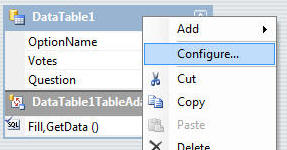
Right-click on the SureyData.xsd file (in the Solution Explorer) and select View Designer to bring up the Data Adapter designer, Right-click on the header of the DataTable and select Configure...
Click the Query Builder button.
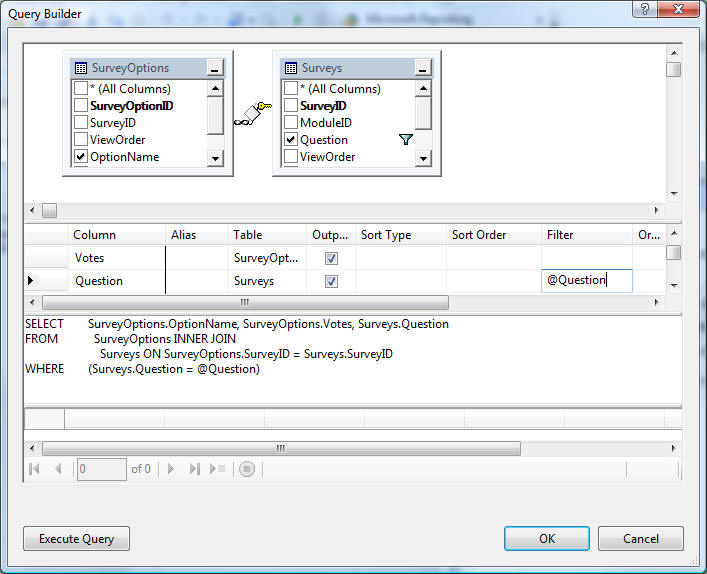
In the Filter column for the Question row, enter "@Question" and click the OK button.
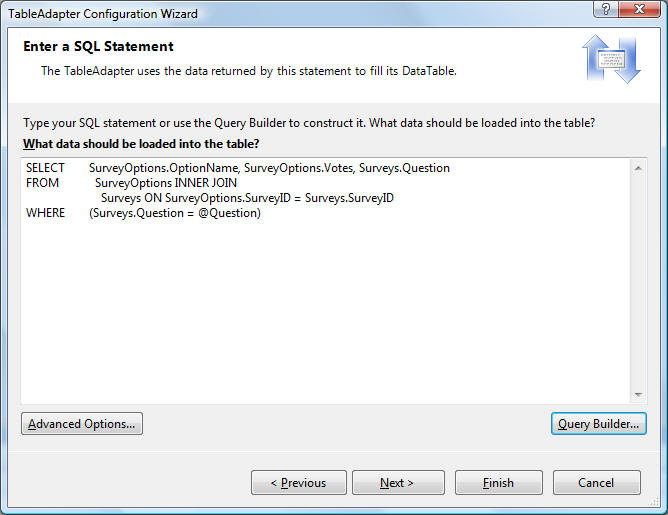
Click Finish.
Save the Page.
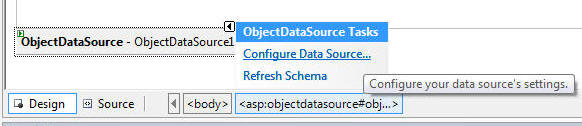
In the design view on the View.ascx page, click on the Tasks menu for the ObjectDataSource control (located at the bottom of the page) and click Refresh Schema, then click Configure Data Source....
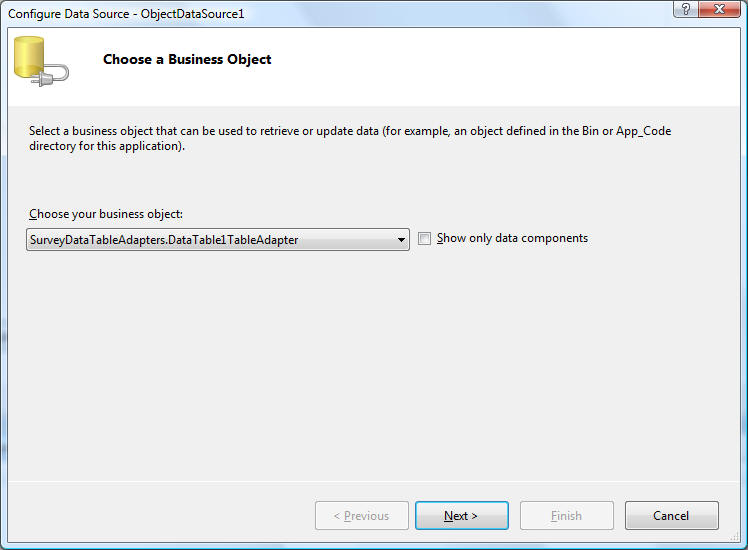
Click Next.
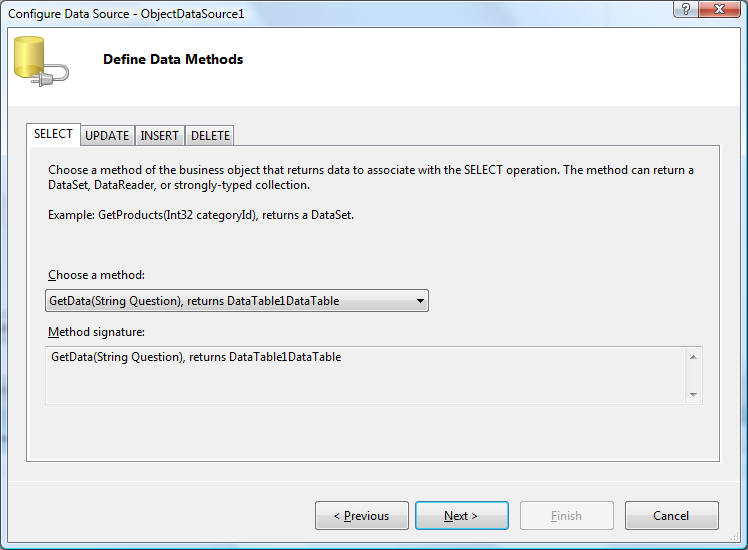
Select the GetData method that takes (String Question) in the dropdown and click Next. (If you don't see it click Cancel, save all files and try again. If you still don't see it close and re-open Visual Studio.
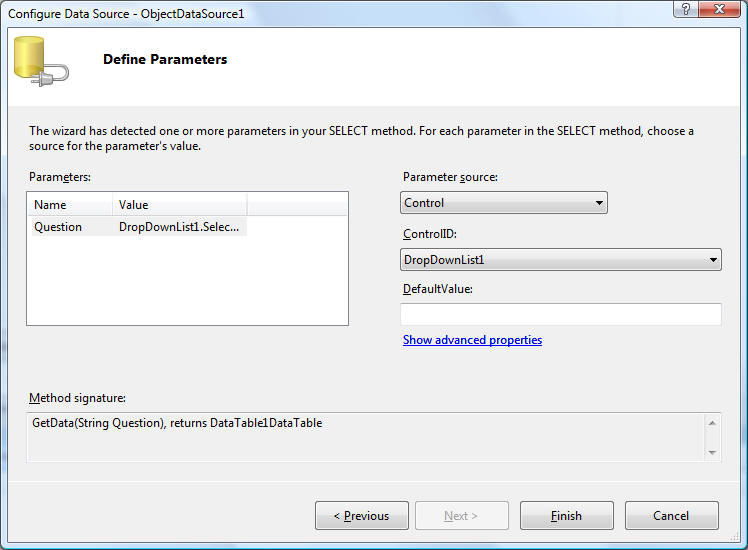
Select Control for Parameter source and the DropDown control for the ControlID. Click Finish. Save all pages.
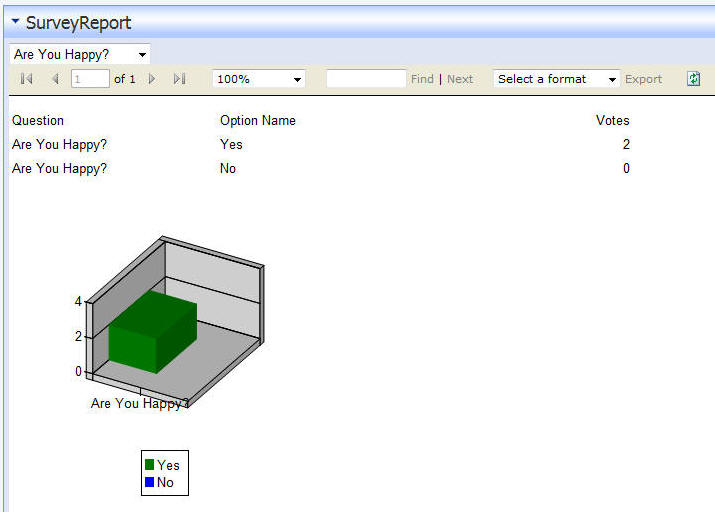
Refresh the page in the web browser. The finished report should now appear.
When you select an option from the drop-down and click the Refresh (![]() )
icon the report will now filter.
)
icon the report will now filter.
You can download the module here:
SurveyReport_01.00.00_Install.zip
However, to run it you will have to add the the proper Microsoft.Reporting keys to the web.config. These keys are created automatically for you when adding the ReportViewer to a page.
If you are installing it into a site that does not have the keys in the web.config, put:
<add path="Reserved.ReportViewerWebControl.axd" verb="*" type="Microsoft.Reporting.WebForms.HttpHandler, Microsoft.ReportViewer.WebForms, Version=8.0.0.0, Culture=neutral, PublicKeyToken=b03f5f7f11d50a3a" validate="false" />
in the <httpHandlers> section and put:
<add extension=".rdlc" type="Microsoft.Reporting.RdlBuildProvider,
Microsoft.ReportViewer.Common, Version=8.0.0.0, Culture=neutral, PublicKeyToken=b03f5f7f11d50a3a"
/>
in the <buildProviders> section.
To run this on a production server you need to install The Microsoft Report Viewer 2005 Redistributable Package from:
Also see: Reporting Services 2008
[Back to: The ADefWebserver DotNetNuke HELP WebSite]
|
Buy DotNetNuke Modules from Snowcovered |
![]() DotNetNuke™
is a registered trademark of DotNetNuke Corporation.
DotNetNuke™
is a registered trademark of DotNetNuke Corporation.