 |
|
|
Create The ContentNow that the files have been created, you will now insert the content for each file using the links below (click on .cs for the C# version of the file and .vb for the Visual Basic version of the file):
You can also download the files: |
|||||
|
The code covers a lot of DotNetNuke module concepts. The explanation of the major concepts is covered in these posts: |
|||||
Build the SiteFrom the menu bar, select Build then Build Web Site |
 |
||||
| The site should build without errors. If it has errors, download the code from the link above and compare the code to your code. |
|
||||
Create The Tables and Stored ProceduresThe code is complete but the module will not work until you create the tables and stored procedures and set up the module configuration. |
 |
||||
Open the DotNetNuke SiteFrom the menu bar in Visual Studio, select Debug, then Start Without Debugging |
 |
||||
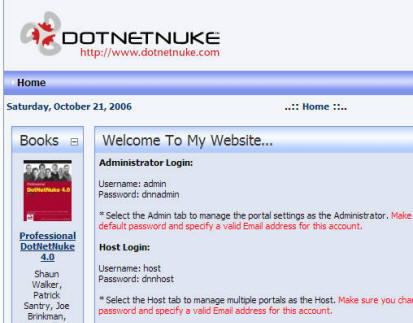
The site will come upIf you have problems at this point, ensure that you have correctly set up your development environment using one of these links:
|
 |
||||
Run the Database ScriptsYou will now execute the three database scripts needed to create the tables and stored procedures the Module needs. The reason there are three scripts is that each script is from a different version of the Module. When the module is installed, the DotNetNuke framework will run each SQL script in the Module package in order. This is the mechanism that allows you to upgrade a module. For example, if the portal already has the Module version 03.01.00 installed it will not run that SQL script and will only run the SQL scripts with a higher number. |
|||||
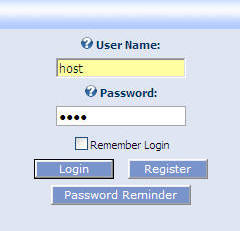
| Click LOGIN |
|
||||
| Log in as "host". The password (if you haven't already changed it) is also "dnnhost" |
 |
||||
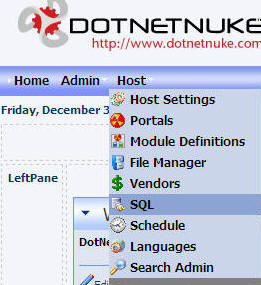
| Click on the HOST menu and select SQL |
 |
||||
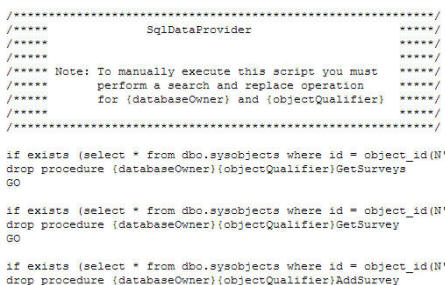
| Click on the link below and copy the entire SQL Script:
Paste the contents in the SQL box in your DotNetNuke website. |
 |
||||
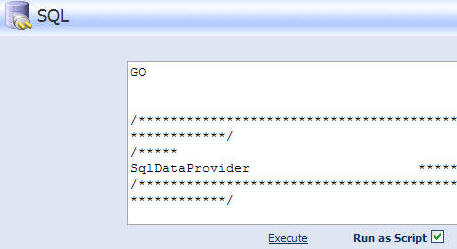
| Select the Run as Script box and click "Execute". |
 |
||||
| Watch the progress bar in your web browser because when the script
has been run the text in the window will shift and then... nothing...
Next, select everything in the SQL box and delete it. |
|||||
| Paste the contents of the following scripts in the box, one at a
time, in order:
Make sure that you Select the Run as Script box and click Execute each time and that you clear the contents of the SQL box each time. If you make a mistake or receive an error, run the following script and re-run each script in order: |
|||||
|
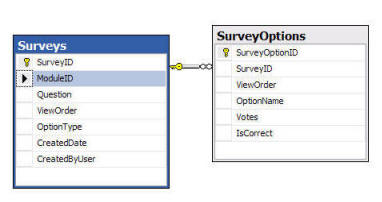
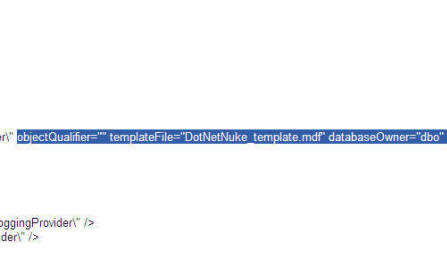
We ran a SQL script that created the tables and the stored procedures. You will notice that the script is written like this: CREATE TABLE {databaseOwner}{objectQualifier}Surveys rather than the normal: CREATE TABLE [dbo][Surveys] The script commands "{databaseOwner}" and "{objectQualifier}" indicate that they are to be replaced by configuration settings in the web.config file. Normally "{databaseOwner}" is set to ".dbo" and "{objectQualifier}" is set to nothing (it would not have a setting). However, if alternate settings were indicated in the web.config file, those settings would be inserted into the script. You must have the "Run as Script" box checked for this replacement to happen. |
 |
||||
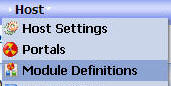
Configure the ModuleFrom the Host menu in your DotNetNuke website, select Module Definitions |
 |
||||
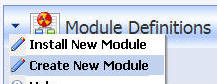
| From the Module Definitions menu, select Create New Module |
 |
||||
 |
|||||
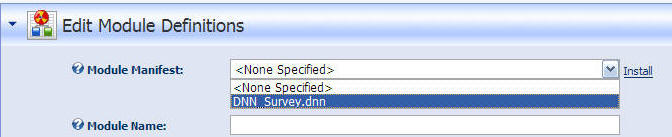
| The DNN_Survey.dnn file (created in the earlier step) will be detected. Select it from the drop-down and click the Install link. | |||||
|
|
|||||
| The Survey Module definition will now show in the Module definitions list. | |||||
| Click the Edit link next to the Survey Module definition. |
 |
||||
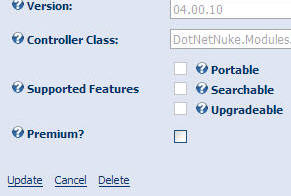
| The optional interfaces (Portable, Searchable, Upgradeable) will not be checked. Click the Update Link |
 |
||||
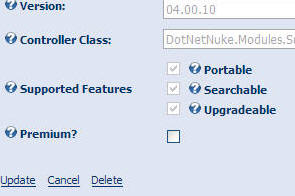
| The Module Configuration will now be properly updated |
 |
||||
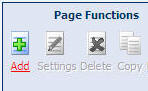
| Next, create a page to place the module on. On the Administrator control panel, click the Add link under the Page Functions section. |
 |
||||
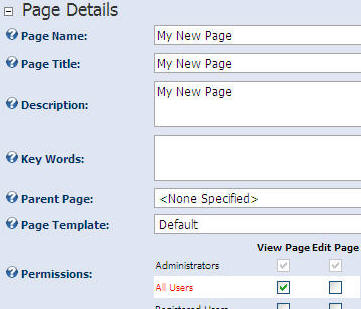
| Enter details for the page, ensuring that All Users are selected under the View Page column. When you have entered the information, click the Update link. |
 |
||||
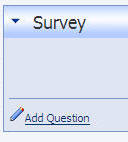
| Next, from the Administrator control panel, select Survey from the Module drop-down list and click the Add link. |
 |
||||
| The Survey Module will now appear. |
 |
||||
| The tutorial is now complete. |
 |
||||
BACK
|
|
||||
(C) by Michael Washington - ADefWebserver.com - Webmaster@ADefWebserver.comDotNetNuke® is a registered trademark of Perpetual Motion Interactive Systems Inc. |
|||||

