|
|
|
Creating The ModuleWe will create the module using the following steps: |
|||||
Creating the FoldersCreating the folders under DesktopModules |
|||||
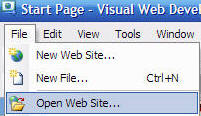
| Open your DotNetNuke website in Visual Studio or Visual Web Developer Express by selecting File from the menu bar and selecting Open Web Site. |
 |
||||
| In the Solution Explorer, right-click on the DesktopModules folder and select New folder. | 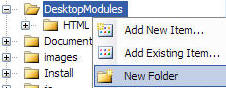 |
||||
| Name the folder Survey. | 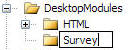 |
||||
| Right-click on the Survey folder and select New folder. | 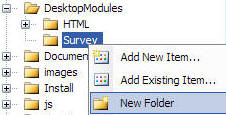 |
||||
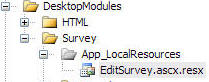
| Name the folder App_LocalResources. This is where resource files will reside. These resource files will be used to provide Localization. Localization will allow the module to be used in different languages by simply replacing the text in the resource files. | 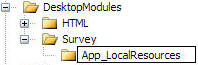 |
||||
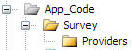
| Right-click on the Survey folder again and select New folder. | 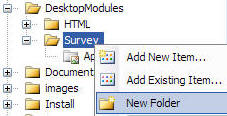 |
||||
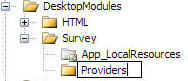
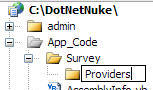
| Name the folder Providers. |
 |
||||
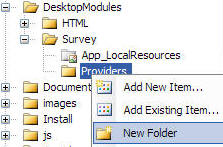
| Right-click on the Providers folder and select New folder. |
 |
||||
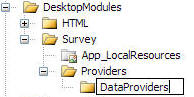
| Name the folder DataProviders. This is where the database installation scripts for the module will reside. |
 |
||||
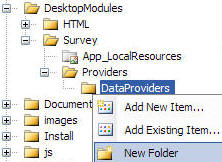
| Right-click on the DataProviders folder and select New folder. |
 |
||||
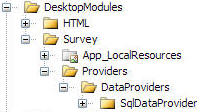
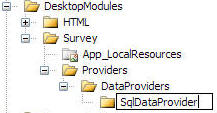
| Name the folder SQLDataProvider. We will only create Microsoft SQL setup scripts in this tutorial. However, if we wanted to create data providers and set-up scripts for other databases such as Oracle, MySQL, or Firebird, we would create a folder for each of these. |
 |
||||
Creating the folders under App_Code |
|||||
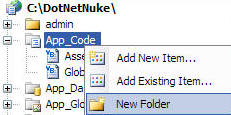
| Right-click on the App_Code folder and select New folder. |
 |
||||
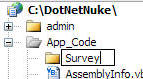
| Name the folder Survey. This is where the files that are pure
class files (that are not associated with a User Control) will reside. The code files that will be placed here will comprise the BLL and DAL layer. |
 |
||||
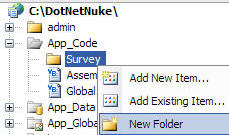
| Right-click on the Survey folder and select New folder. |
 |
||||
| Name the folder Providers. This is where the concrete
provider class file will reside. The concrete provider is the class
that actually connects to a specific database. The class that connects
to the concrete class is an abstract class. In this tutorial, only a Microsoft SQL provider class will be created. However, if we wanted to create data providers for other databases such as Oracle, MySQL, or Firebird, we would also place those concrete providers in this directory. |
 |
||||
|
We have create the folder structure for the Survey Module. We have placed directories under the DesktopModules folder and under the App_Code folder. |
|
||||
Creating the FilesCreating the files under DesktopModulesWe will create the files needed for the module first, and add the content in a later step. |
|||||
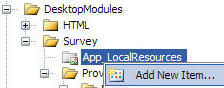
Creating the resource files that will be used for Localization.We will first create the Localization files that will be used to provide the text for the user controls of the module. This will allow a portal administrator to replace these files and display the text in a different language. Right-click on the App_LocalResources directory (that is under the Survey directory that is under the DesktopModules folder) and select Add New Item. |
 |
||||
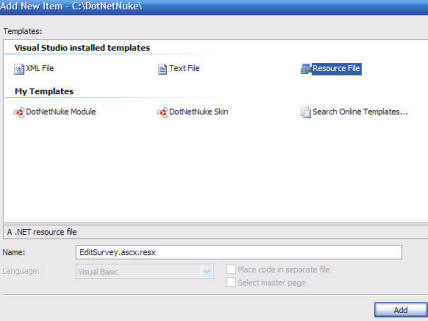
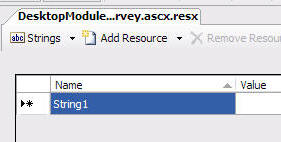
| When the Add New Item menu comes up, select Resource File and enter EditSurvey.ascx.resx in the Name box and click the Add button. |
 |
||||
| The EditSurvey.ascx.resx will appear in the Solution Explorer. |
 |
||||
| The file will also open in the Edit window. Close this for now. |
 |
||||
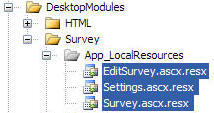
Repeat the steps used to create the EditSurvey.ascx.resx file
to also create:
|
 |
||||
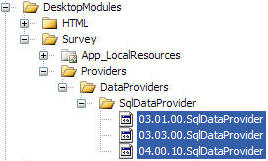
Creating the SQL script filesWe will now create the SQL script files. We are placing these files in this location to allow the DotNetNuke framework to automatically place them in the installable module package when you Package Your DNN Module.. Right-click on the SqlDataProvider directory (that is under the DataProvider directory that is under the Providers directory that is under the Survey directory that is under the DesktopModules folder) and select Add New Item. |
|
||||
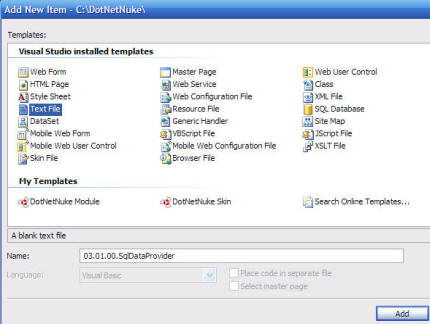
| When the Add New Item menu comes up, select Text File
and enter 03.01.00.SqlDataProvider in the Name box and
click the Add button. (The file will also open in the Edit window. Close this for now.) |
 |
||||
Repeat the steps used to create the 03.01.00.SqlDataProvider
file to also create:
|
 |
||||
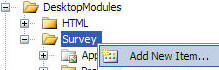
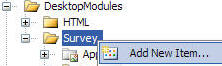
Creating the Text FilesWe will now create the various text files that will be needed for the module and that reside in the DesktopModules folder. Right-click on the Survey directory (that is under the DesktopModules folder) and select Add New Item. |
 |
||||
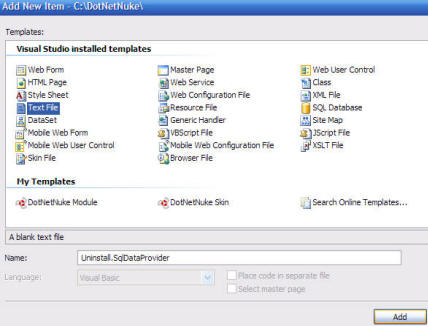
| When the Add New Item menu comes up, select Text File
and enter Uninstall.SqlDataProvider in the Name box and
click the Add button. (The file will also open in the Edit window. Close this for now.) |
 |
||||
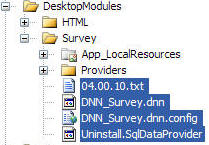
Repeat the steps used to create the Uninstall.SqlDataProvider
file to also create:
|
 |
||||
Creating the User ControlsWe will now create the User Control files that will be needed for the module and that reside in the DesktopModules folder. Right-click on the Survey directory (that is under the DesktopModules folder) and select Add New Item. |
 |
||||
 |
|||||
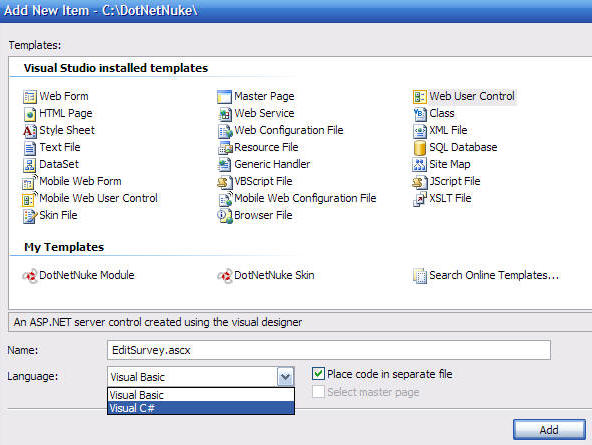
When the Add New Item menu comes up:
Click the Add button. (The file will also open in the Edit window. Close this for now.) (a code behind file for the user control will also be created. Either EditSurvey.cs or EditSurvey.vb depending on the language you selected.) (Visual Studio will show errors for the file. Ignore these for now as they will be fixed when content is inserted for the files in a later step.) |
|||||
Repeat the steps used to create the EditSurvey.ascx file to
also create:
|
 |
||||
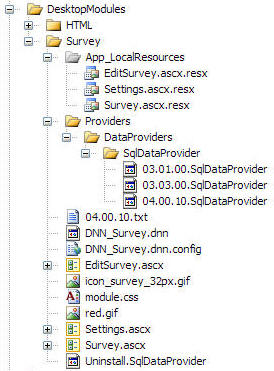
Creating the Remaining Files for DesktopModules folderYou can obtain the remaining files:
from the .zip files that can be downloaded here: |
|||||
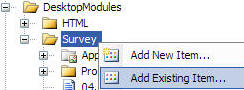
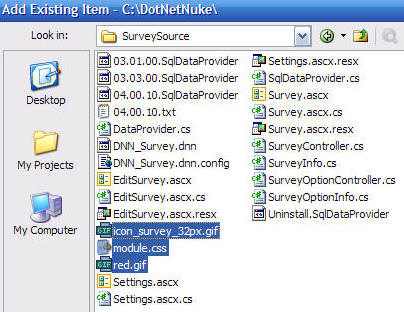
| To import them, unzip them from the .zip file they are contained in, and right-click on the Survey directory (that is under the DesktopModules folder) and select Add Existing Item. |
 |
||||
| Navigate to the directory that you placed the files in and select the files by holding down the Ctrl key while you click on each one. Click the Add button |
 |
||||
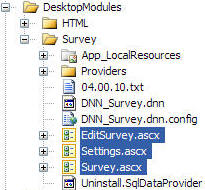
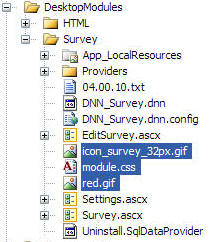
| The files will be imported. |
 |
||||
Creating the files under App_Code DirectoryWe will now create the files that will be pure class files. These files will reside in the App_Code directory. |
|||||
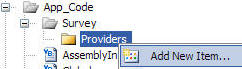
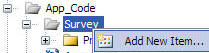
| Right-click on the Providers directory (that is under the Survey directory that is under the App_Code folder) and select Add New Item. |
 |
||||
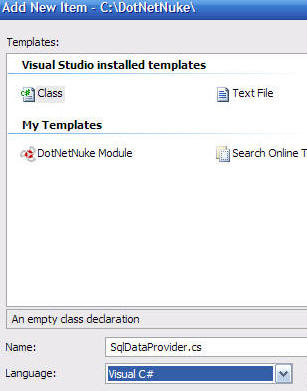
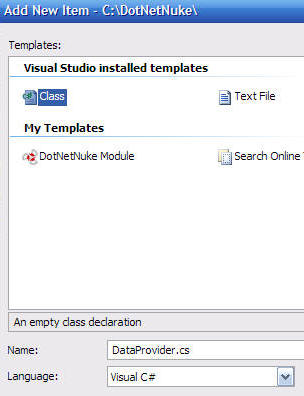
| When the Add New Item menu comes up, select Class and
enter SqlDataProvider.cs if you are planning to code in C# (name
the file SqlDataProvider.vb if you are planning to code in VB)
in the Name box, select a language in the Language
drop-down, and click the Add button. (The file will also open in the Edit window. Close this for now.) |
 |
||||
| Right-click on the Survey directory (that is under the App_Code folder) and select Add New Item. |
 |
||||
| When the Add New Item menu comes up, select Class and
enter DataProvider.cs if you are planning to code in C# (name the
file DataProvider.vb if you are planning to code in VB) in
the Name box, select a language in the Language
drop-down, and click the Add button. (The file will also open in the Edit window. Close this for now.) |
 |
||||
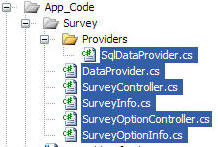
Repeat the steps above to also create (if you are planning to code
in C#):
(if you are planning to code in VB, use the .vb extension for the files instead of .cs) |
 |
||||
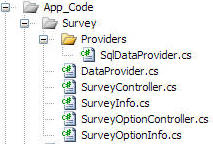
|
We have created all the files for the Survey Module. We have placed them in directories under the App_Code folder and under the DesktopModules folder. |
|
||||
BACK
|
Next: Create The Content
|
||||
(C) by Michael Washington - ADefWebserver.com - Webmaster@ADefWebserver.comDotNetNuke® is a registered trademark of Perpetual Motion Interactive Systems Inc. |
|||||